Calculus for Kids May 17, 2015 (Sundays)
This is the story of the fifth and final meeting of the Sunday Natural Math Circle doing activities inspired by calculus.
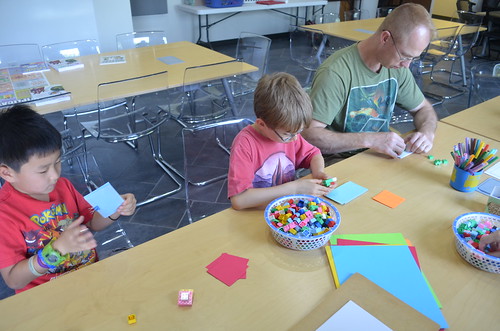
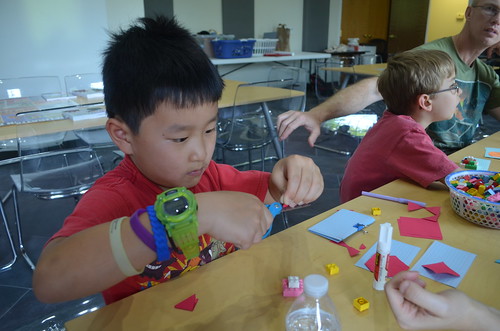
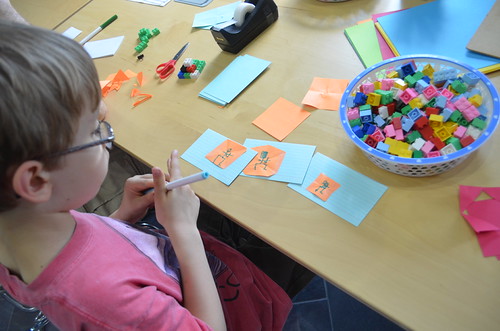
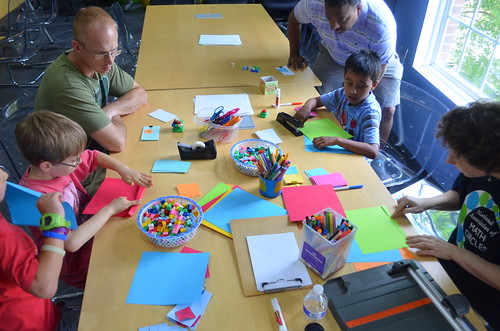
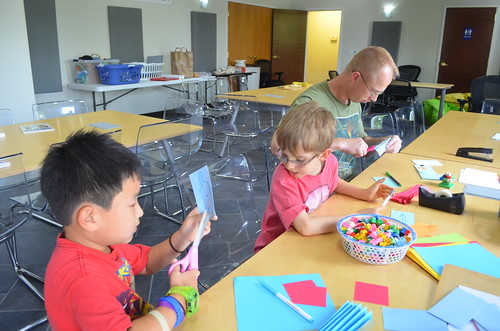
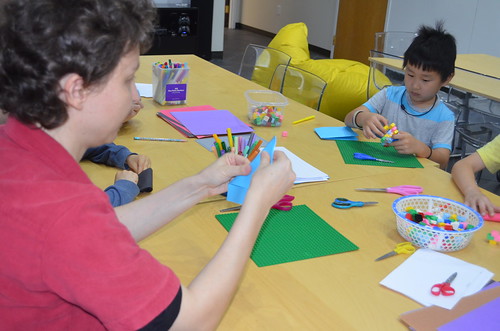
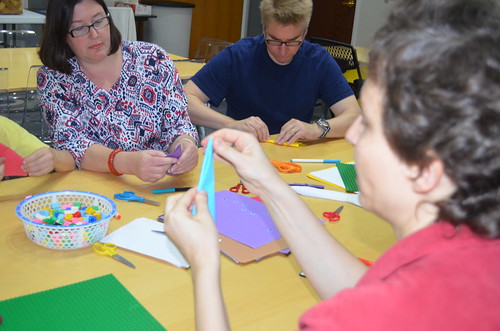
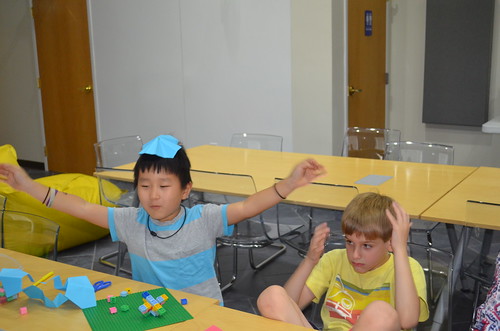
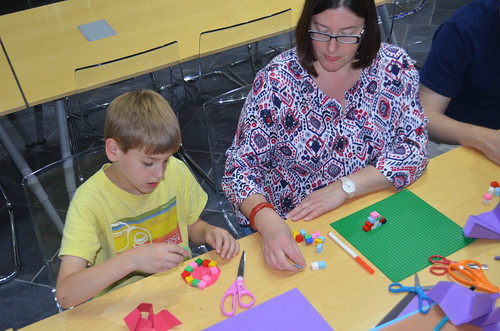
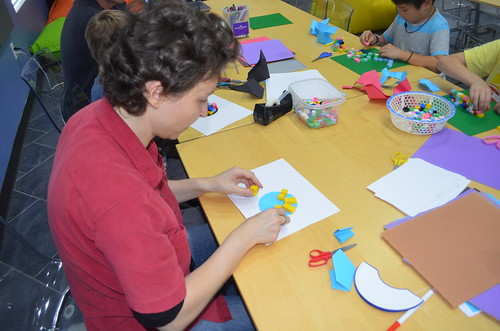
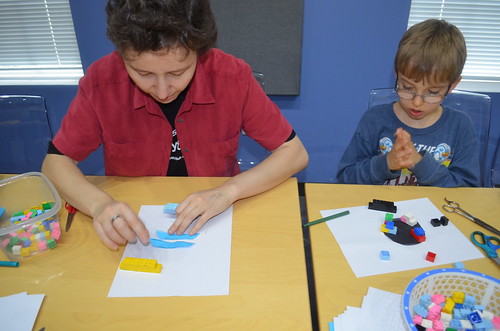
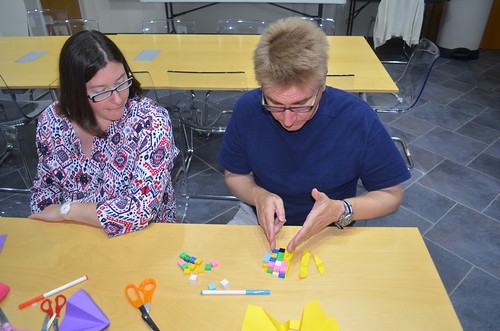
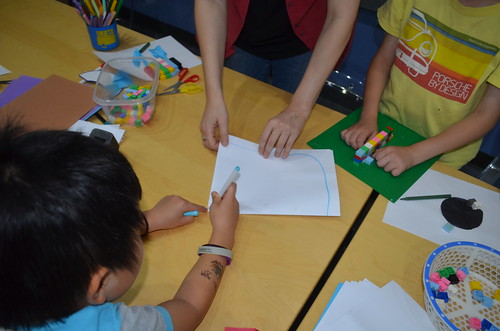
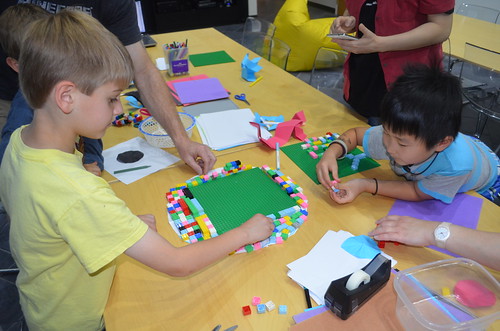
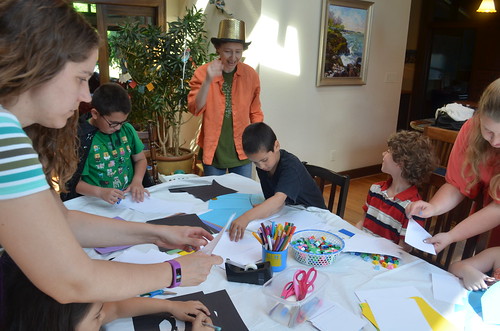
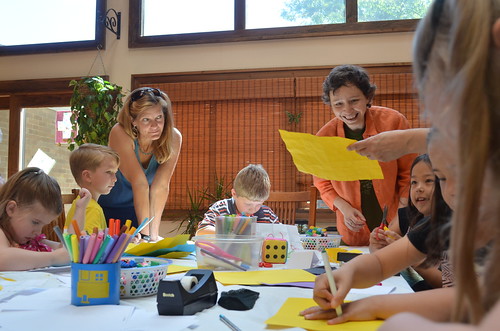
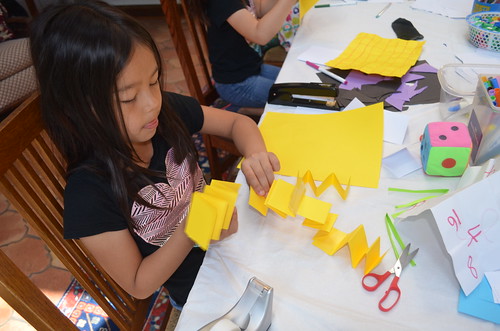
The first activity was making a flip book out of cards. To figure out the size of designs, we used LEGO blocks. How many blocks fit on the card in a row? Will it still fit if you re-position it? For a 3×5 inch card, a line of four blocks fit every which way.

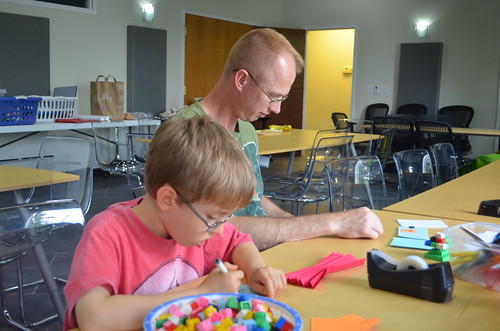
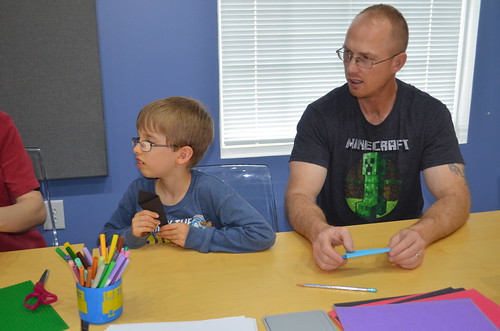
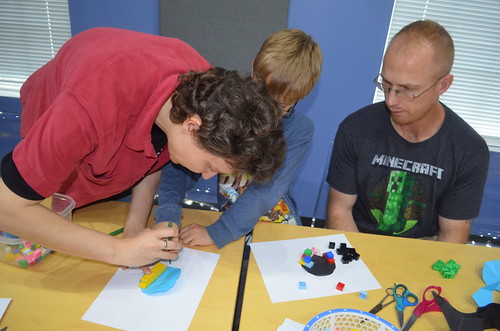
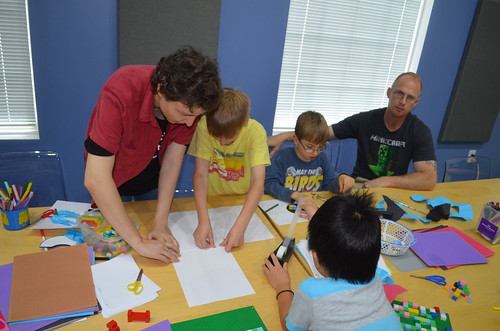
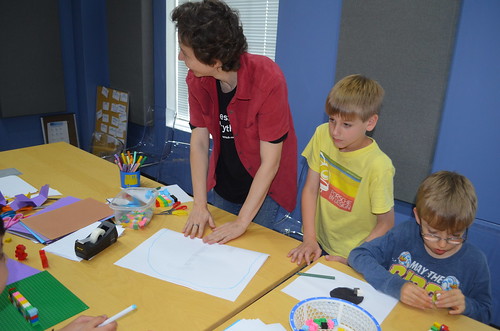
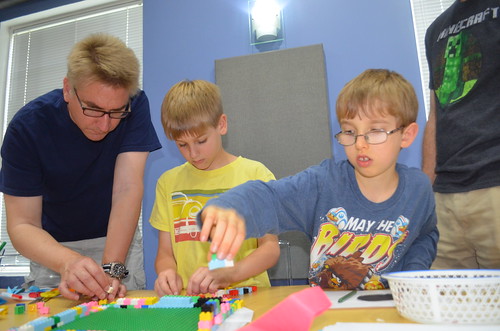
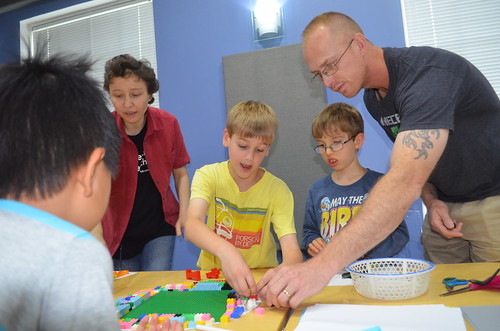
Eli, Mark, and Chris are trying and testing things for the project. Our instructions tend to be open, such as “try using a clip”. This way participants get in the habit of problem-solving.
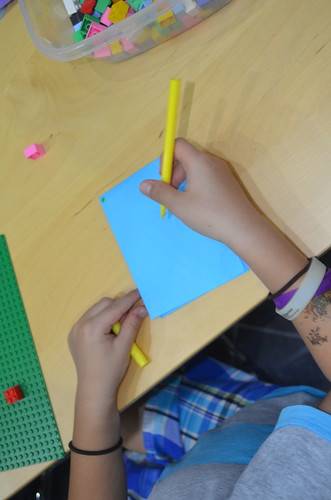
Yash made a measuring square to approximate positions of shapes on paper.
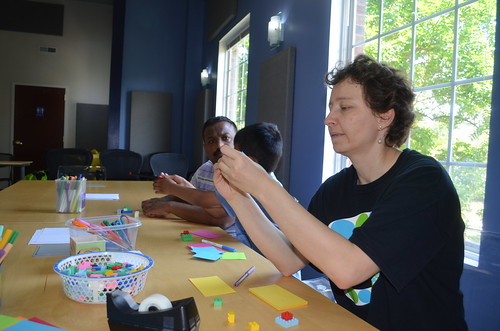
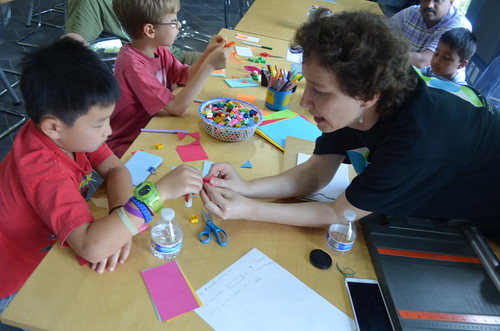
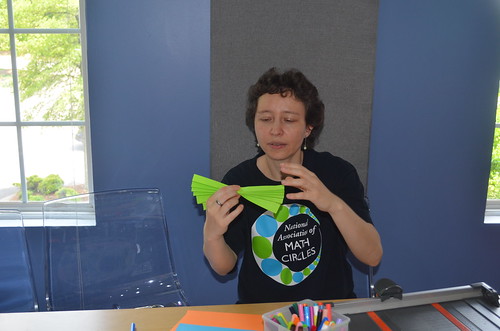
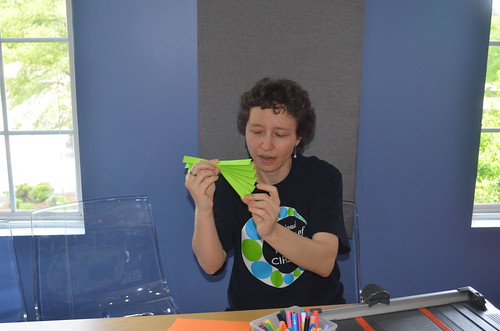
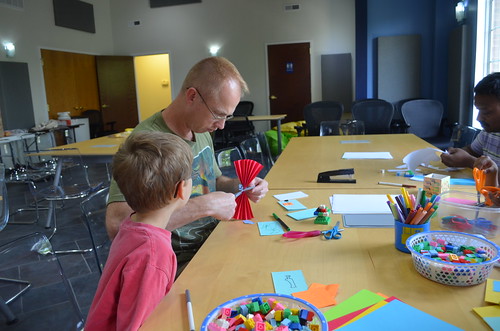
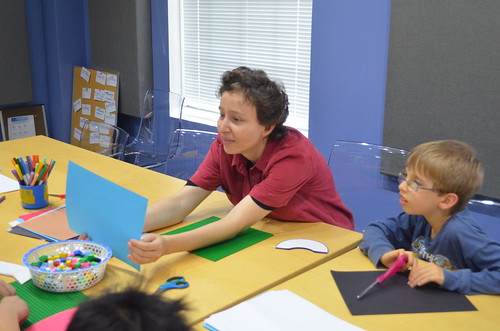
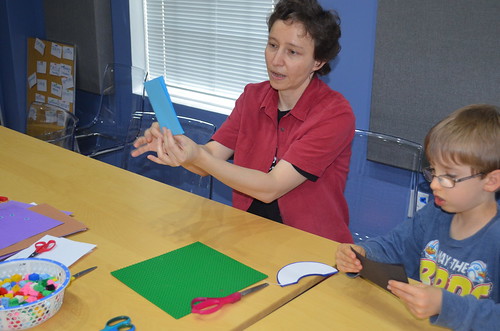
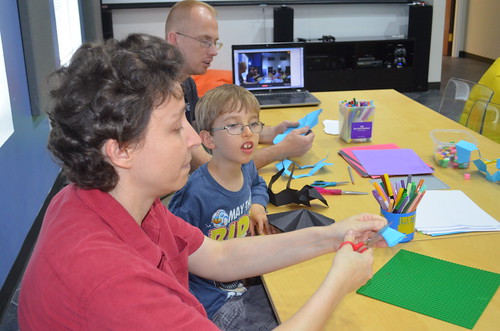
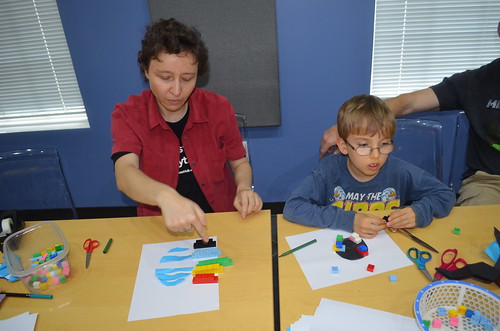
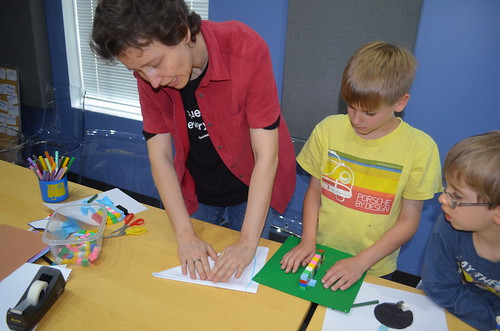
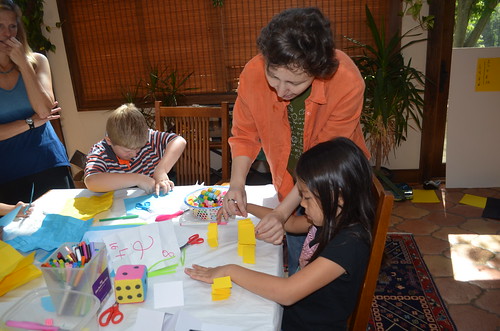
Maria demonstrating how to fold small squares of paper (measured out to be no more than 4 LEGO blocks across). We folded them into 4, 6, and 8 layers through the middle, then cut across. What shapes do we get?
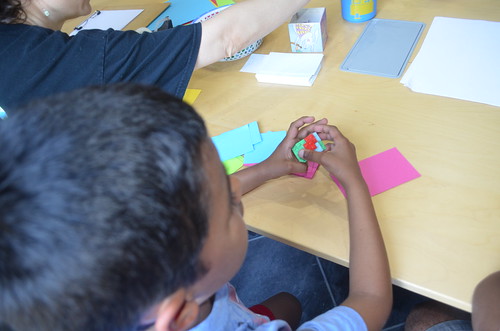
Eli’s checking out his shape.
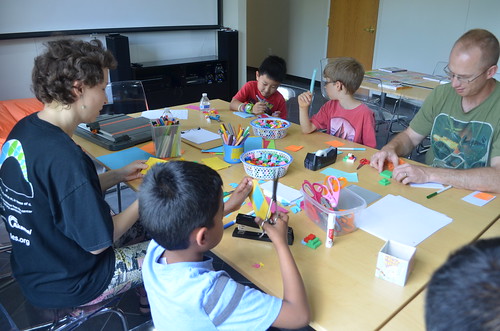
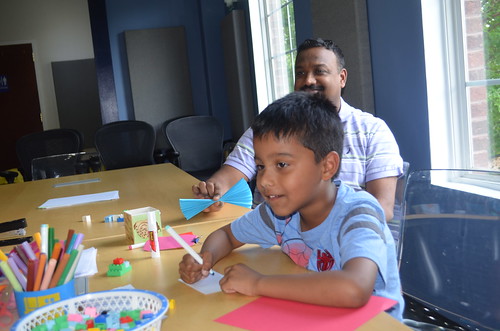
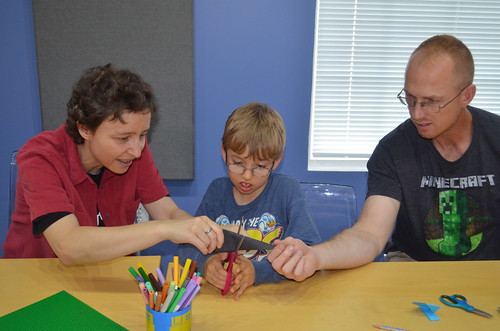
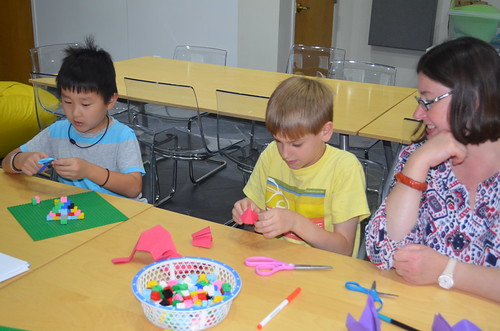
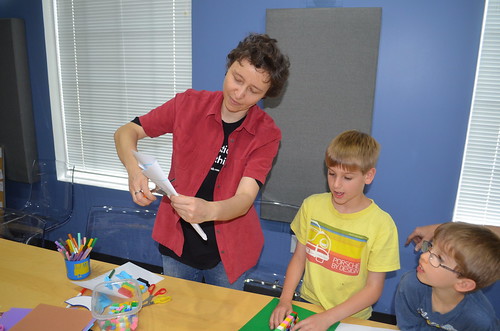
Chris and Mark, Krishnan and Yash, and Maria and Eli are making 6-fold shapes, which are challenging. While people have no problems estimating folds into 2 parts (and then 4, 8, 16…) – folding into 3 parts is hard.
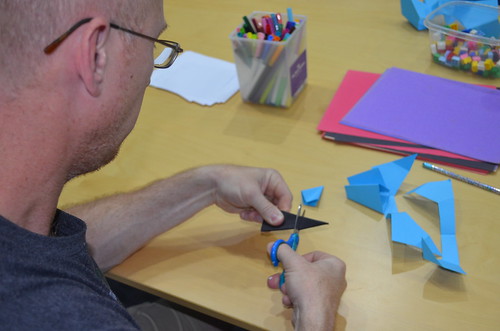
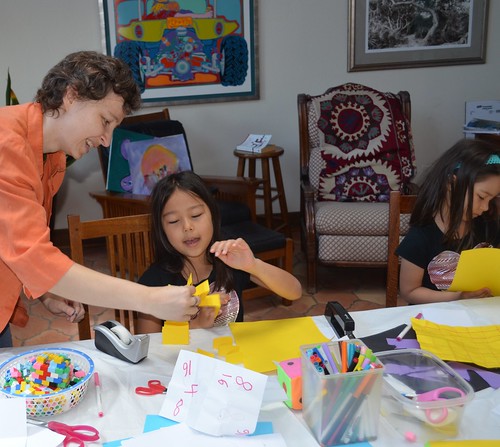
It’s also challenging, with any fold, to cut the paper in such a way that both sides are about the same. It’s tempting to cut at the right angle to the nearest side instead. If at first you don’t succeed, cut and cut again!
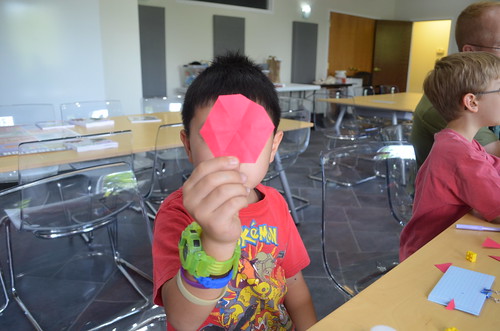
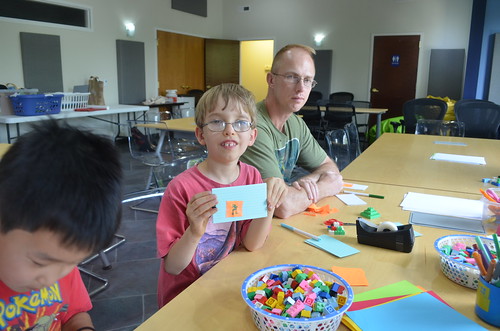
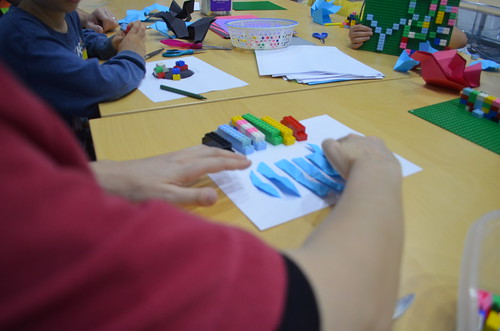
4-fold and 6-fold shapes glued onto cards. Is the 4-fold shape a square or a diamond?


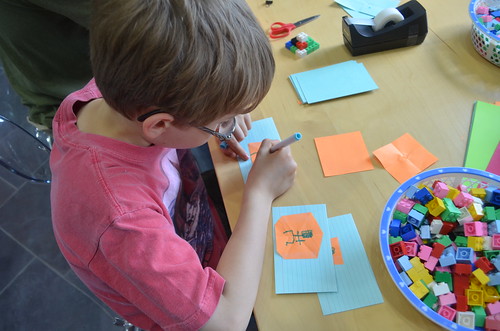
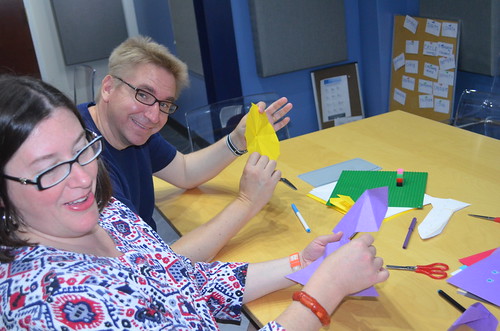
Mark is drawing figures on his shapes.
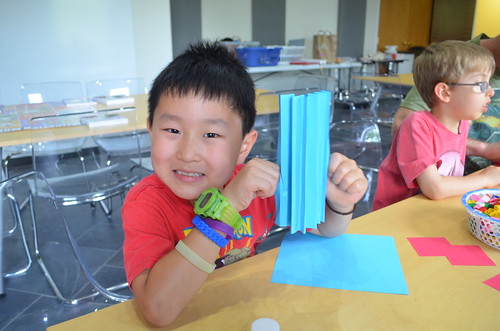
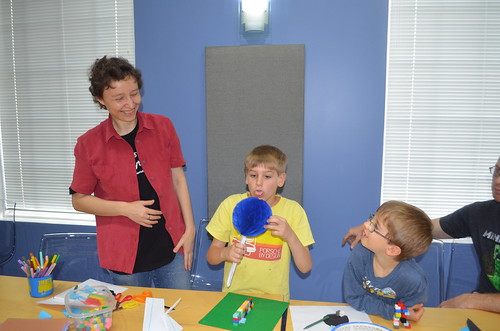
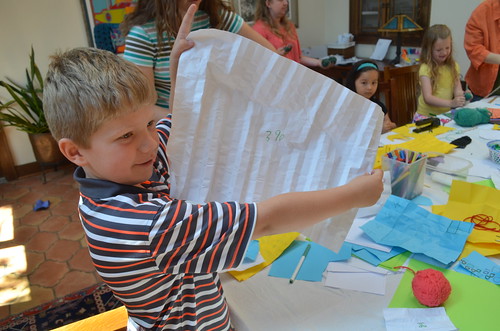
Smile! Mark is ready to animate the flip book.
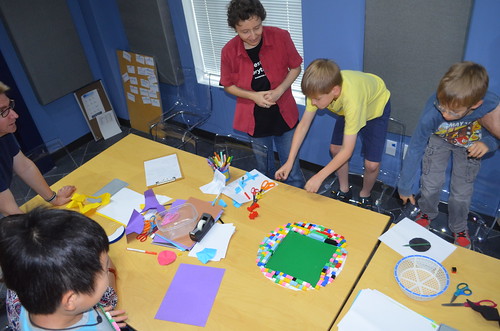
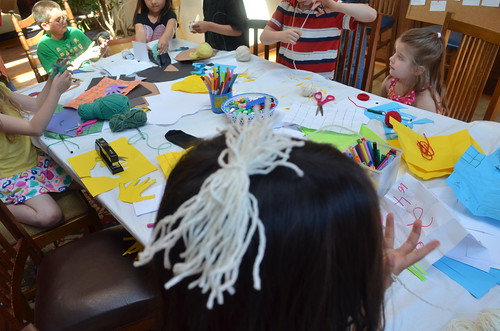
The participants are peaceful, working at their own pace drawing, cutting, measuring, and animating ready flip-books.
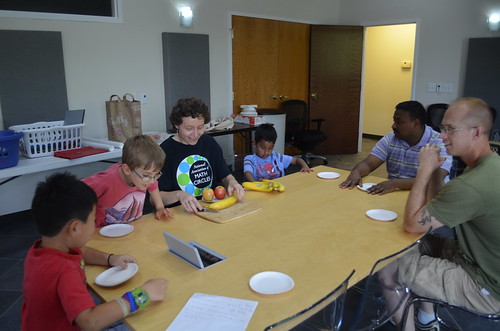
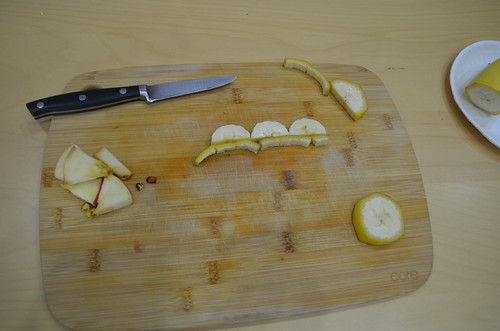
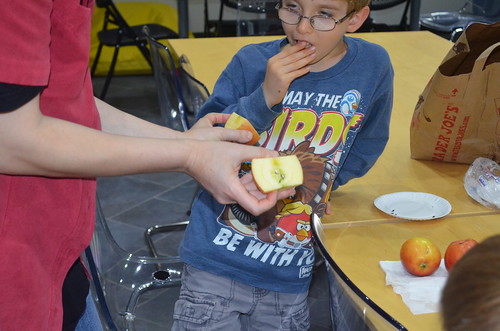
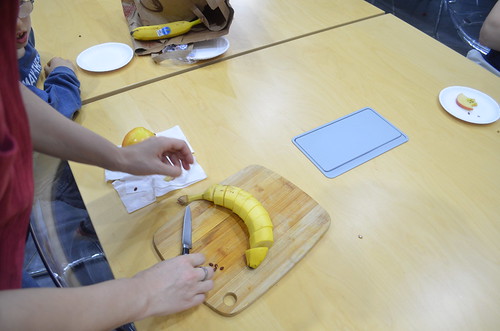
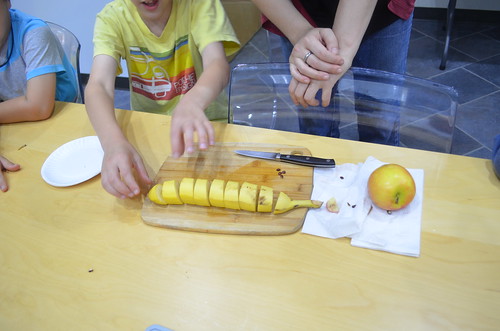
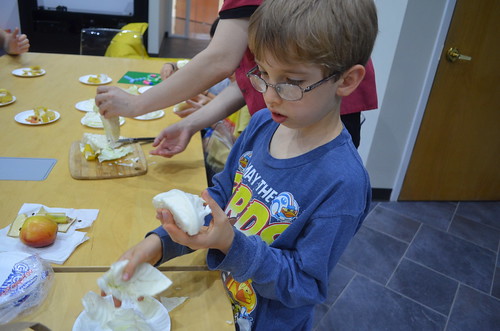
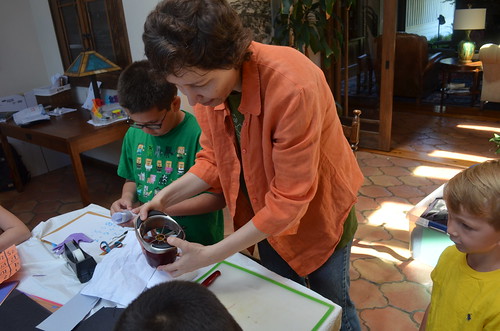
After finishing the flip book, the group moved to the next table for the math snack time – always a happy time. Children wanted to straighten a banana like last week, which Yash wanted to see since he wasn’t there.
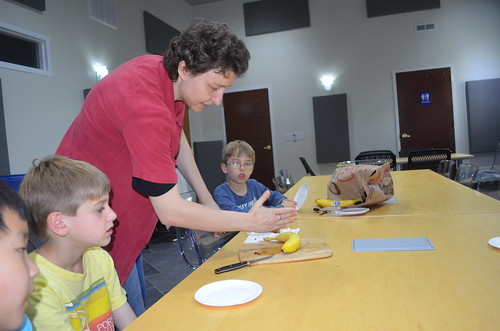
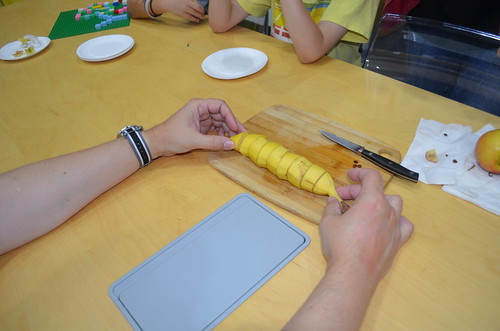
Mark and Eli demonstrated the technique from the last week: rotate every other slice 180 degrees.

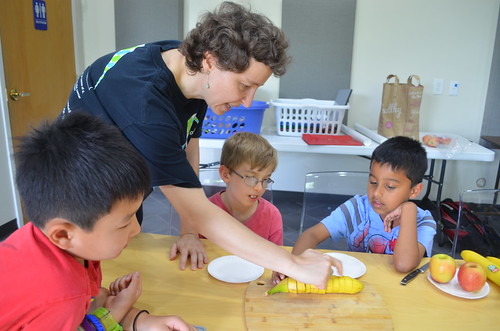
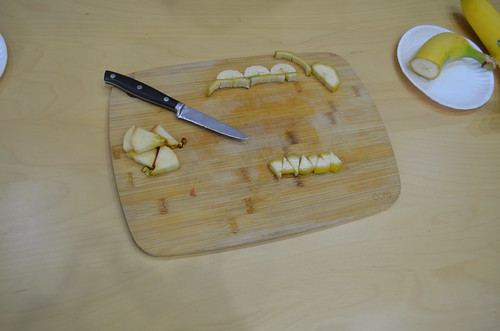
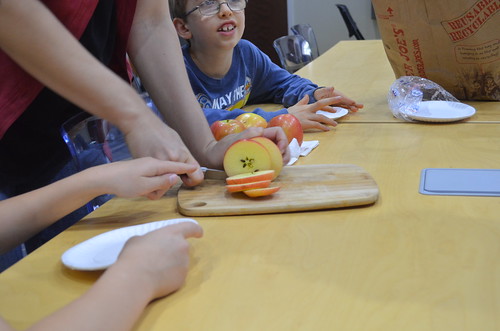
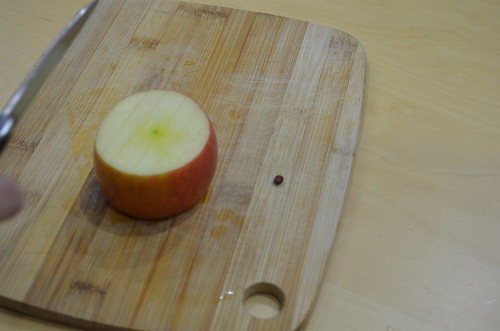
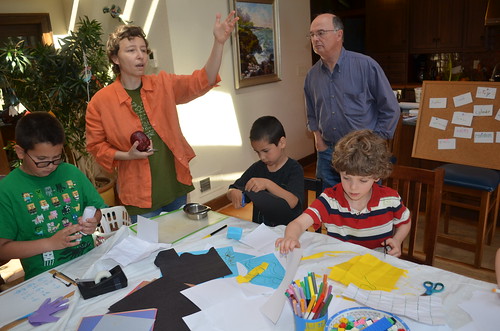
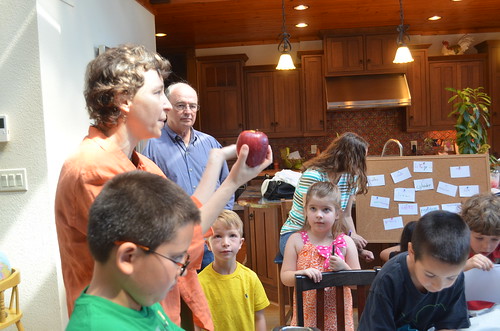
Next, we are going to play with an apple. Can we straighten this circular slice?
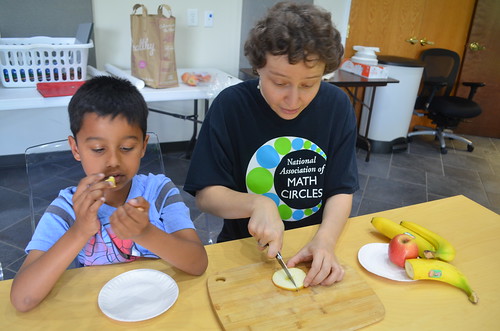
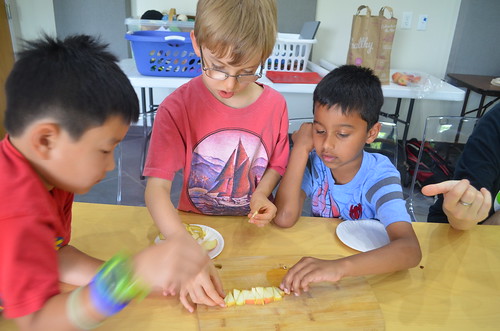
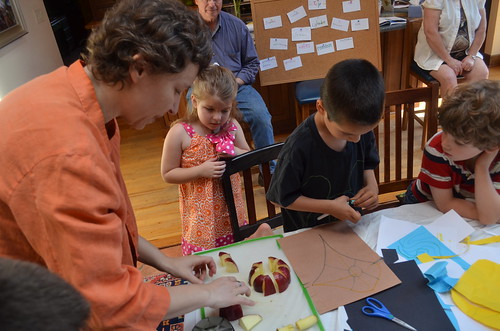
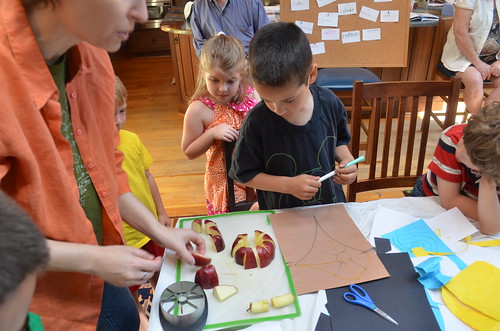
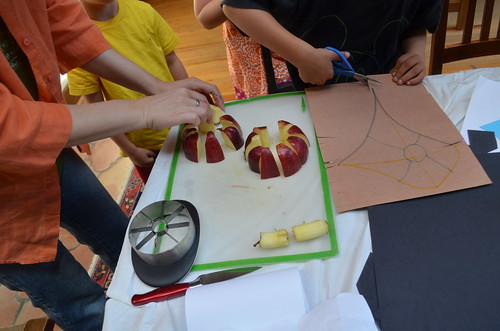
Children are reusing the banana technique, rotating every other section of apple the other way.

Instead of a circle, they got an approximate rectangle.
Maria asked grown-ups if they can see Pi in this, and they wanted to borrow her “math goggles” for the purpose. So the adults asked children to play elsewhere, since they were getting tired, and held their own math circle.
If you straighten out the peel from a banana slice, you see the length of the circumference.

How long is it? Pi is the ratio of the circumference (banana peel) to the diameter (the slice of banana cut across).
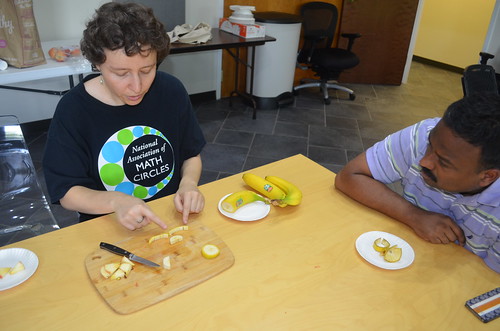
That outrageously simple way to see Pi had participants thinking seriously on what their school math classes really meant. After all, that happened way back in the previous millenium!

The peel is three slices across, and a bit more. The circumference is three diameters and a bit. Pi=3.14… And not any kind of Pi, but banana Pi!
What about apple Pi? When we alternate the pieces, the rectangle is half a circumference long and one radius wide. The ratio of its length to its width is Pi again! This time, apple Pi. Next time, it would be interesting to slice different round fruits, to straighten the circles into rectangles, and to observe how all the rectangles look like scaled-up versions of the same shape, since their length:width ratio is always Pi.
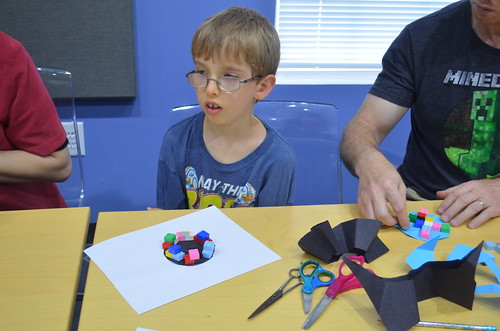
Returning to the table, we are about to make round things out of straight and rectangular paper.
We are folding the paper as if we’re making fans in an alternating zig-zag pattern, just like we alternated fruit slices: it all comes together.


Can you curve the straight paper?
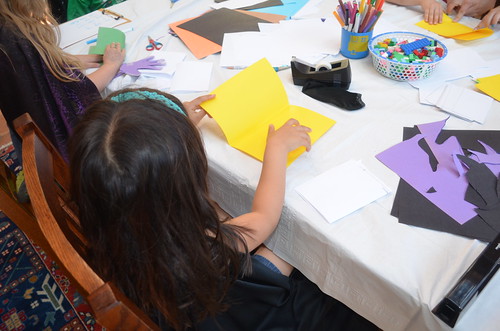
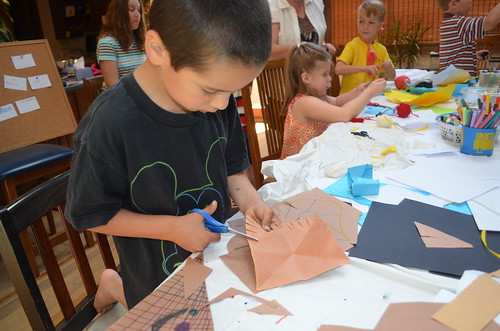
These folded papers will become wings of creatures. Mostly dragons. Everyone drew their creatures, then cut them out:
The wings go into a slit cut in the middle of the creature’s body.

Picasso would be proud.

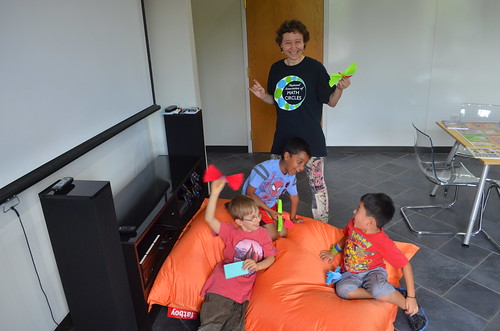
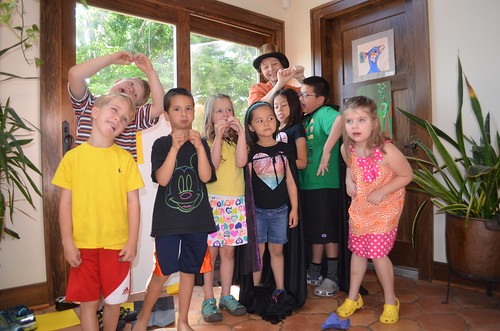
Group pictures – make silly faces for the press!
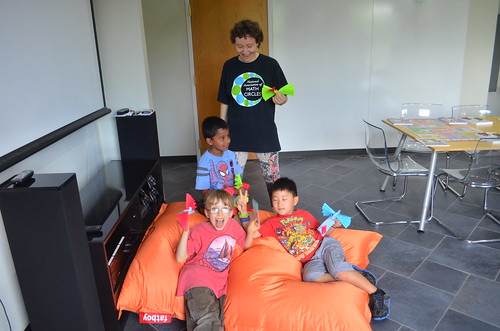
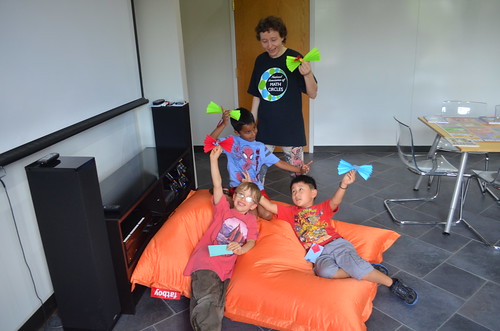
Happy times.
Photos by Erin Song, captions by Erin Song and Maria Droujkova, Math Spark by Kalid Azad, Shelley Nash, and Maria Droujkova, edited by Ray Droujkov.
Posted in Make
Calculus for Kids May 10, 2015 (Sundays)
This is the story of the fourth meeting of Sunday Natural Math Circle doing activities inspired by calculus. We started by reviewing some past “book art” style objects that transformed between 2D and 3D, like the spaceship…

…And the spherical paper decoration Eli opened.
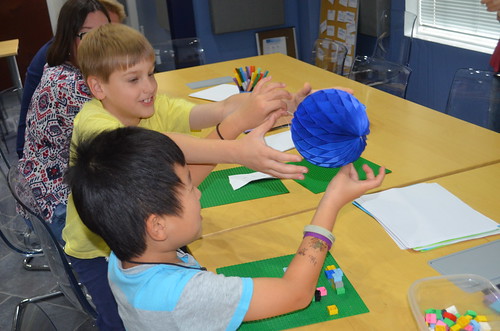
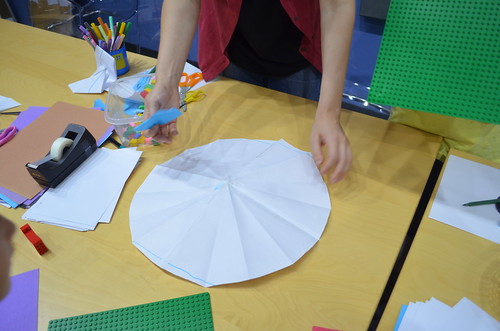
Moving on to the next experiment: approximating circles. Start with a piece of plain rectangular paper (in your favorite color of course).
Fold it in half twice: along the length and along the width.
Mark the corner that’s in the center of the paper.
Fold the sides adjacent to that corner to one another, making a triangle.
Fold through that corner again, making a smaller triangle. It’s hard to fold that many layers!
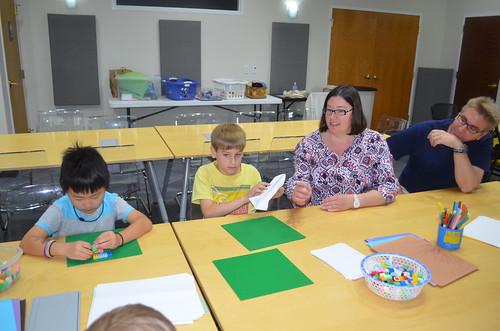
Now for cutting: Maria and Chris are helping Mark by holding his paper still. What shape will we get?
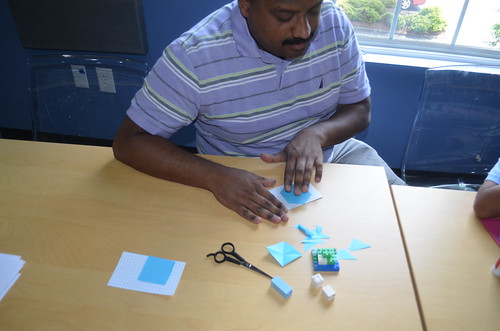
Parents are doing the activity for themselves!
Something funny happens if you fold through a corner that isn’t the center of your paper.

The results approximate circles. Eli’s approximate circle transforms into a nice hat.
Cut it again into a smaller shape. What shape do we get when we unfold it? Is it the same shape (an approximate circle)?
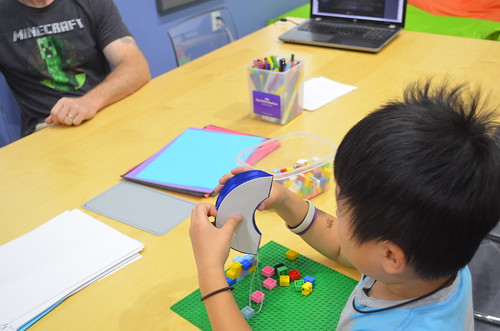
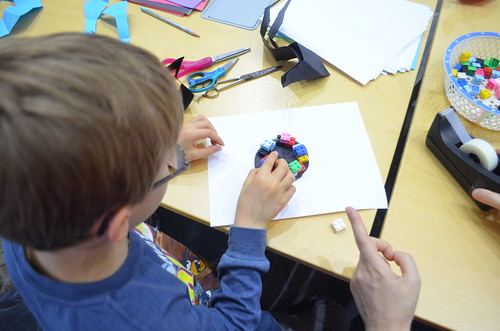
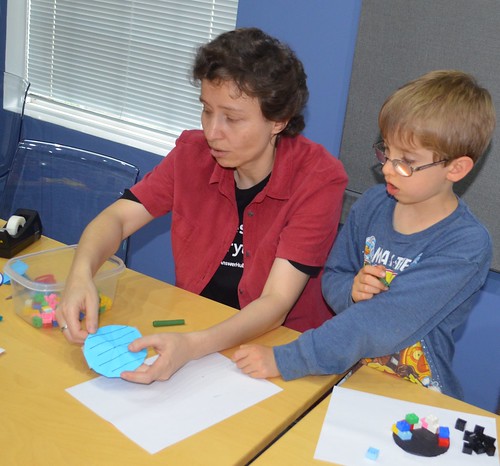
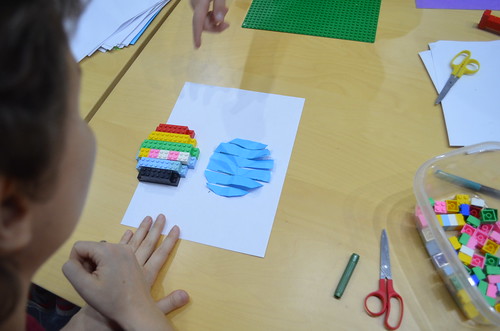
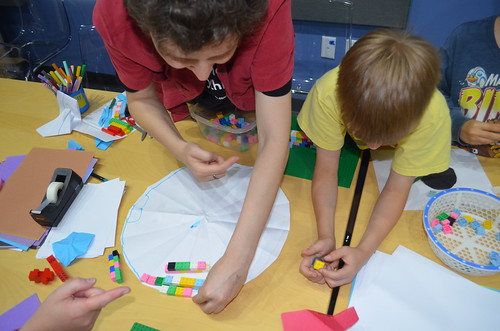
Here comes the challenge – a different way to approximate circles. Use these small circles as a template to build LEGO circles on top of them. Maria: “You figure it out as you go along!”
Our other group tried to build LEGO circles, but they mostly stopped at squares and diamonds and called that “good enough approximations.” We thought that moving off the big LEGO board and onto paper can nudge children into thinking outside of the box. Or outside of the grid, as the case may be.
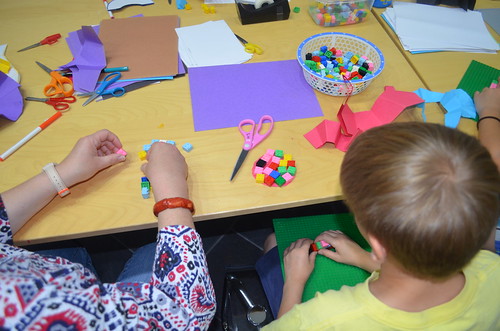
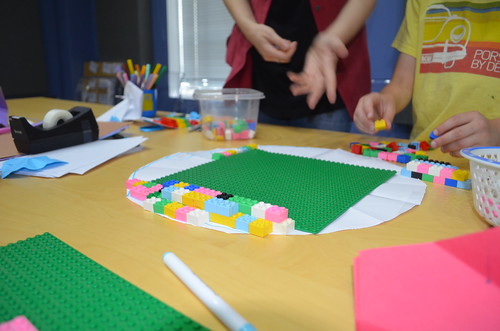
It worked! Whether the circle was covered in a random way (above) or in a systematic way (below), the LEGO pieces aren’t on the grid anymore.
Parents’ math faces, contemplating:

Maria’s LEGO circle:
Next, Maria shared a way of building circles out of parallel strips. It’s an important method that did not come up among the children. In a larger group it might have – or, if we used craft sticks instead of LEGO blocks. Something to try next time.
Maria and Mark are drawing lines using a plank built out of LEGO as their ruler:
The result is that the circle is split into parallel stripes:
Eli: “Oh yes!”
The letter O started as an approximation of a circle, then grew into a phrase. Eli would show this sign whenever somebody made progress or finished a project. A great way to cheer for your colleagues!
Maria cut the circle into stripes and gave one to each person. For each stripe, people built a LEGO plank.

Then we put all our planks together – integrating a circle.
Oh yes!
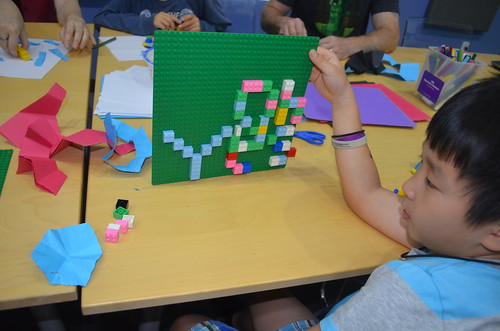
Children said our LEGO circle would be so much better if only we could make it really big (or the blocks really tiny… but that’s harder). When asked, they all wanted to try and make a really big circle. To do so, we taped four papers together.
How could we draw a circle? By folding it like we did earlier, or simply by drawing? (Nice try drawing, Eli!)
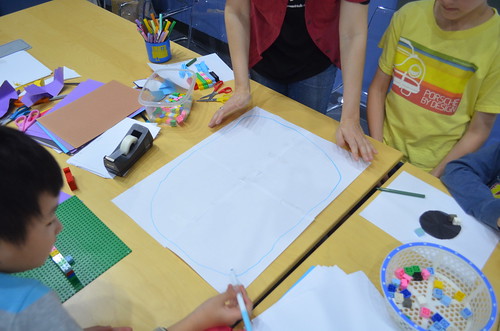
Find the center and draw a dot.
Fold one more time.
Cut! We got a triangle.
It’s like a cone… for blueberry ice cream.
Back to the integration:
We started to fill the big circle with planks as before, but that turned out to be a lot of work.
So we filled the middle with the big square block:
Serious team building:

Checking the LEGO circle from the bird’s eye view:

What do you notice about that big circle? A triangle? Any patterns?
Children attempted to find patterns in colors of blocks around the circle, but that turned out to be random. Then Eli alternated between two neighboring single-color planks, naming the colors: green-blue-green-blue-green-blue… Everybody laughed.
Snack time. Slicing and reassembling apples and bananas (shapes out of shapes):
Guess what shape the cuts will be when we look at them from the side. There are problems like that in drafting and 3D modeling.
When I slice this banana what will we see? Once we slice it, can we straighten it?
One way to straighten: with wedge-shaped gaps on one side.
Another way to straighten: turning every other piece 180 degrees:
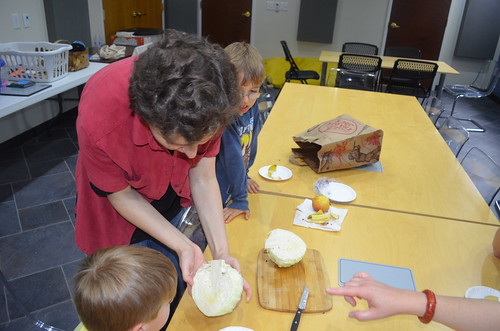
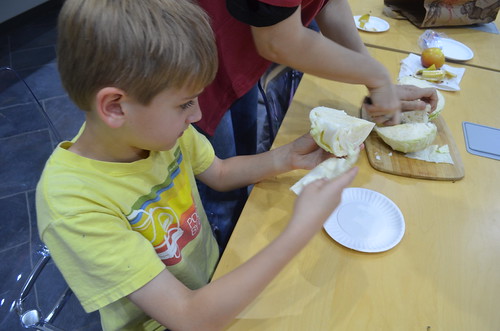
A cabbage is an excellent example of a shell integration. It was interesting to just take it apart and then put it back together. Everybody got a wedge to try doing that.
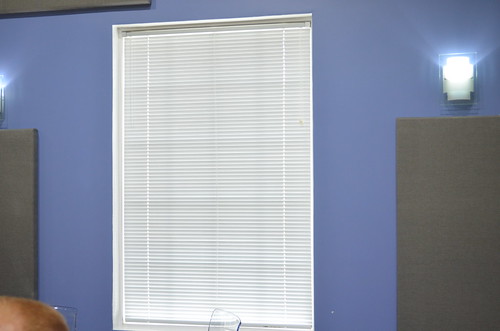
Look around: shapes out of shapes (integration) is everywhere – blinds, light fixtures, woven fabric…
Photos by Erin Song, captions by Erin Song and Maria Droujkova, Math Spark by Kalid Azad, Shelley Nash, and Maria Droujkova, edited by Ray Droujkov.
Posted in Make
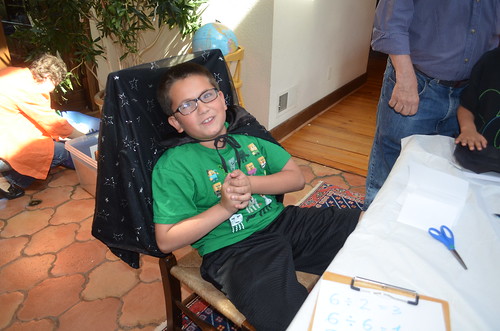
Calculus for Kids May 8, 2015 (Fridays)
This is a story about the fifth and final meeting of the Fridays session of our spring math circle. At the previous meetings, children claimed you can’t divide by zero, and Maria promised to show them how next time.
“Wave at me if you have divided by zero!” – several parents did. Then, “Children, wave at me if you believe it’s possible to divide by zero” – some do, some don’t. Hannah: “I believe my mom!” Maria: “And now wave if you think dividing by zero is a bad idea.” Offer people funny or interesting multiple choices, so however they “vote” they feel good about their chosen option.

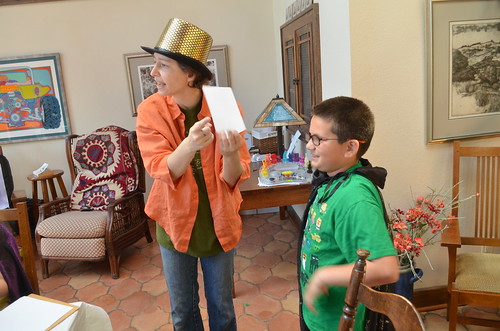
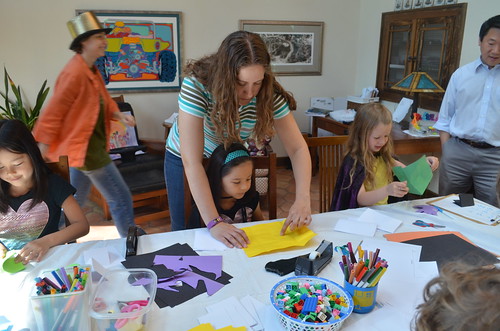
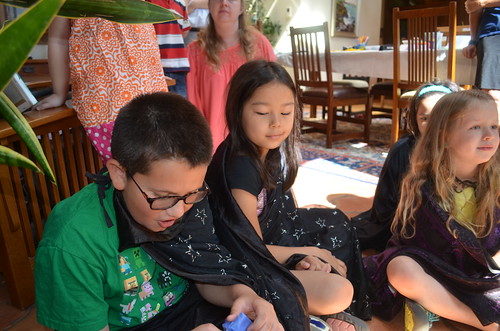
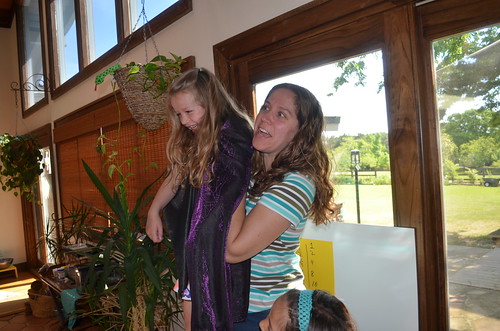
Maria asked 3 children to come forward to be her “math magic” apprentices. But if they aren’t into magic, just calculus apprentices. Maria and Amy are helping them with apprentice capes. Usually we pretend-play without prompts, but we wanted to play this up a bit.
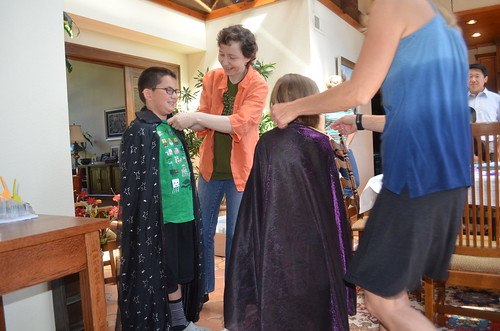
Maria the magician and her three apprentices are warming up for math magic.
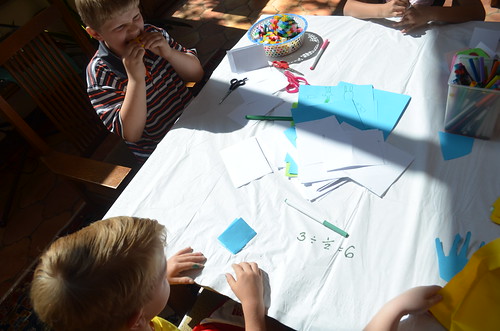
First, grab 6 pieces of paper. Let’s think: how many groups of 2 do you have? 6:2 = 3. Children demonstrated, each with 3 stack of papers with 2 pieces in each.
Then we modeled 6:3 (2 stacks of paper with 3 pieces in each) and finally 6:6 (just 1 stack). Note that adding 0, dividing by 1, dividing the number by itself, and other “border cases” should not come as your first example.
Then we modeled the same question about parts (fractions). How many halves are in three pieces of paper? Six. Take one large piece of paper. How many halves are in it? Two.
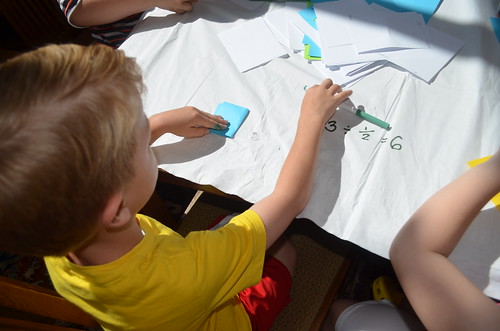
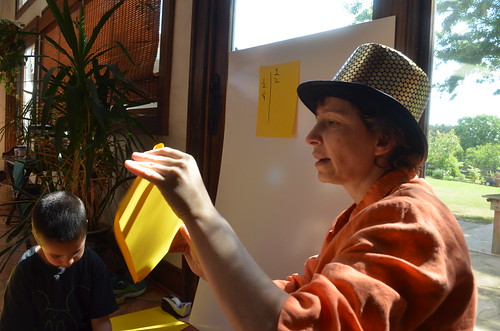
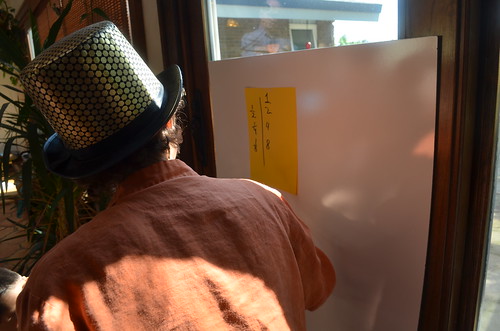
And then we started a series of division, modeled by folding the large piece of paper. When you describe it in words, it’s messy, but imagine words only following the play. Words were only in the background of paper-folding. Even the youngest in the group loved folding their papers again and again.
- How many halves are in it? 2. Dividing 1 by 1/2 gives you 2.
- (Fold again). Now you get 4 parts. That’s because dividing 1 by 1/4 gives 4.
- (Fold again). Now you get… How many parts? (Some thought 5, because it’s the next number after 4, some 6, because we had 2 and 4 before and they skip-counted, and some thought 8.) Count! You get 8 parts. That’s because dividing 1 by 1/8 gives 8.
- (Fold again…)

Priyesh: “After 64, you can’t fold the paper anymore; it’s impossible!” Priyesh was squishing the folded paper tight to demonstrate.
Charlie’s trying to make that last fold happen by using his teeth.
Charlie: “Ah-ha! I did it!”
After the fold, Hannah and Michele are counting the squares together.
Hannah is tracing the fold lines, while Serrin is numbering parts on her paper.


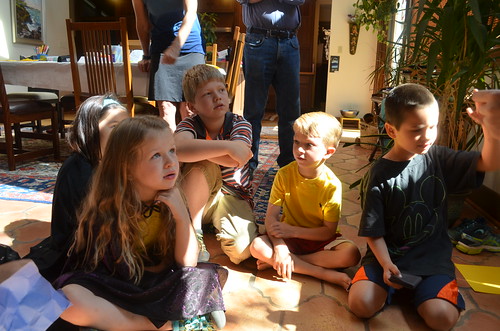
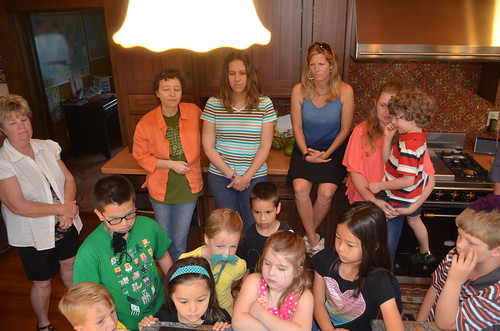
Small circle time. The apprentices are sitting next to each other. Maya joined Priyesh under the same cape, and Serrin is rescuing Maya from the bright sun.

Math faces: children are following along the story of paper-folding and fractions they’ve just experienced for themselves.
As we fold: 1, 2, 4, 8 pieces… Each 1, 1/2, 1/4, 1/8 as large as the whole paper…
Serrin the apprentice represented the number of pieces (1, 2, 4, 8…) and Hannah represented the size of each piece (1, 1/2, 1/4, 1/8…) As Hannah got down to show pieces getting smaller and smaller, Michele lifted Serrin to show the number of pieces getting larger and larger… “To infinity and beyond” as the saying goes.
“Anthropomorphic personification” is the fancy term for pretend-playing your mathematics with your own body. As you can see, children enjoy it very much. This is also one of the best ways to learn and to remember. Our minds have very powerful mechanisms for dealing with people and relationships.

One enthusiastic and dedicated mom needs to catch her breath after all the heavy lifting! What wouldn’t she do to help children learn?
Maria also used her hands to show the ratios and relationships between the size of the fraction you divide by (smaller and smaller) and the result of the division (larger and larger). Note how many ways we used to explore the same thing: paper-folding, heights of children, the distance between hands, words, and written symbols. Three to five different ways work well for new topics. As you explore your topic in depth, create more and more representations!
Next, Maya and Priyesh represented the numerators and denominators of our changing fractions, since they were together under the same cape. A fraction is one number, but it comes in two parts.

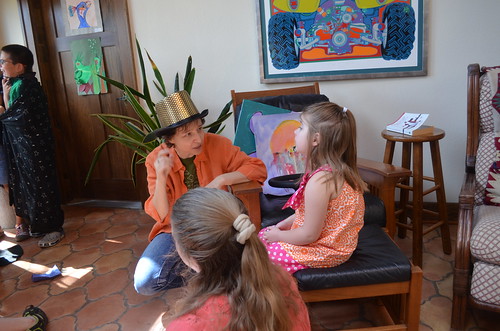
Maria is talking with Julianne after the fraction activity. Julianne is telling her own story of the experience.
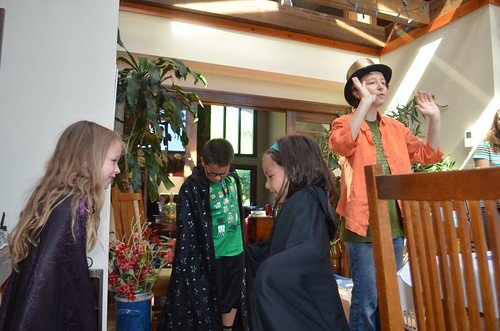
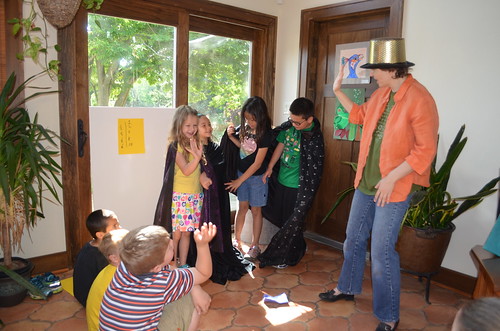
(Mad-Mathematician-Magician) Maria made division by zero madly magical – with much help from the apprentices!

So what do you get when you divide by zero? Children made up their own hand or whole-body symbols for infinity. You can see three or four different versions. Creating symbols is a big part of mathematics. There are usually several different ones, for example, / and : for division.
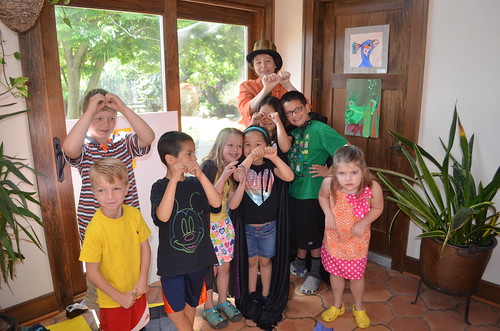
Silly faces and infinity!
Back to the table …
Maria helping Maya with her project: making curves and 3D structures out of fan-folded paper.
Maria is about to represent derivatives (slices) and differentiation (taking apart) by cutting an apple.
Apple cut in half horizontally in the middle; “What shape would you see? Circle? Cylinder in 2D or 3D? Or an approximate (calculus) circle?
Also, what shape will that center piece of the cutter make? “A cylinder!” – say all children. Then one voice corrects, “Two halves of the cylinder” – someone remembered the apple is already sliced in half.
Modeling a cylinder out of paper while we are at it!
And after we slice (derive), we can assemble (integrate) back again.
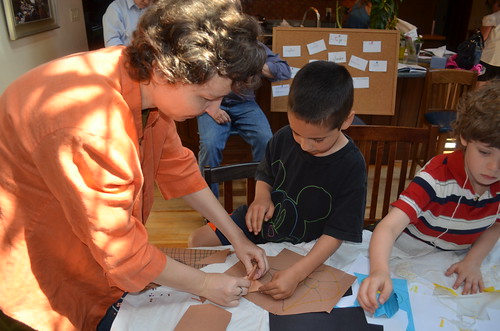
Younger children – Owen, Julienne, Eashan, and Jake – are focusing on the “integration” of the apple. Parents sometimes worry that, to quote a favorite movie, “You keep using that word. I don’t think it means what you think it means!” – that we or the children stretch the meanings of math terms too far, or apply words inappropriately. Owen told Amy he needs to integrate his sock drawer, whatever that means.
But words end up meaning something to children. Five-year-olds have no need for high precision: they are not landing spaceships on Mars or building reliable bridges. They are just exposed to ideas. As a parent said recently about her early math games with her mom, “I don’t remember ever not understanding about negative or complex numbers.” We do want that feeling of happy familiarity. The precision and depth of understanding will grow with time.
Eashan is modeling the slicer in 2D. Check out the accuracy: there is a circle in the middle and the same number of sections.
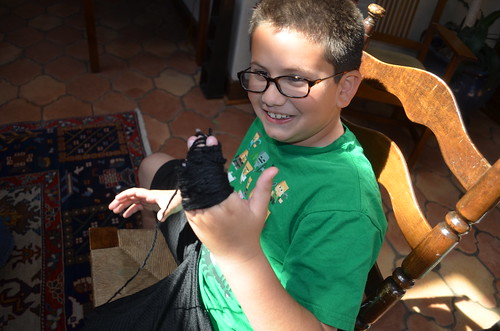
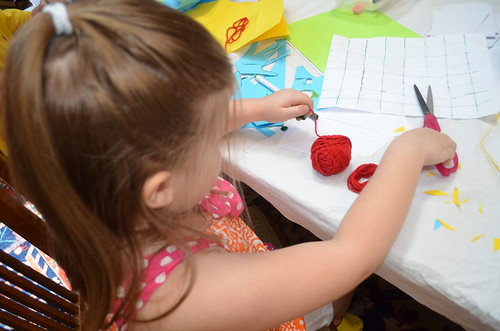
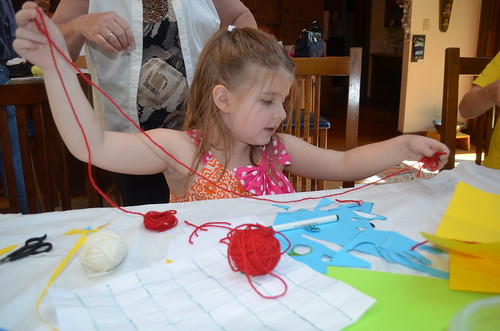
Moving onto the next activity. A thread from a yarn is 1D (well, a model of a 1D object – like everything else in the physical world, it’s really a 3D thing).

Meanwhile, Charlie is determined to fold the most squares possible. Children sometimes continue their projects while the group moves on.

The final result: Ta-da! 390 squares! Maria: “That would be an interesting power of 2. But he used different folds.”
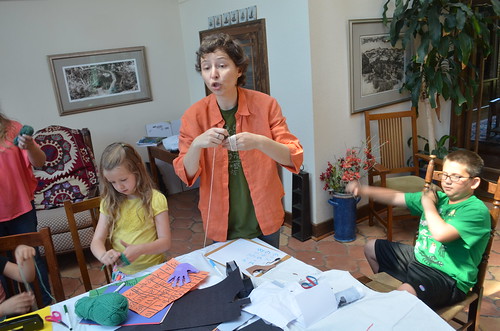
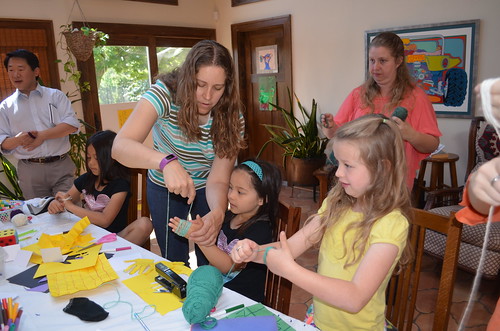
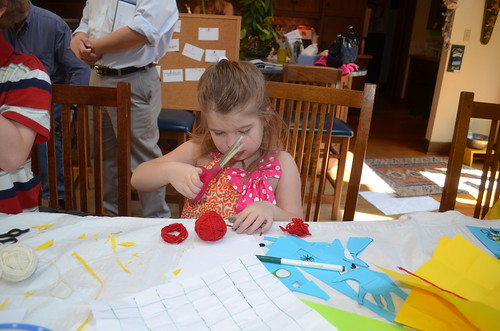
Pom-poms embody the idea of integration. Wrap the yarn at least 30 times around your hand (making a 2D surface out of 1D lines). Then tie it across the lines, cut the lines on the opposite side from the tie, and fluff up into a 3D shape.


Integrate into a toupee?
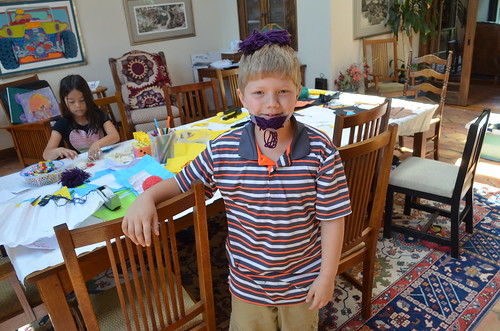
Children are creative: how about a mustache for Hannah?

The Flying Spaghetti Monster lands on Serrin’s head.
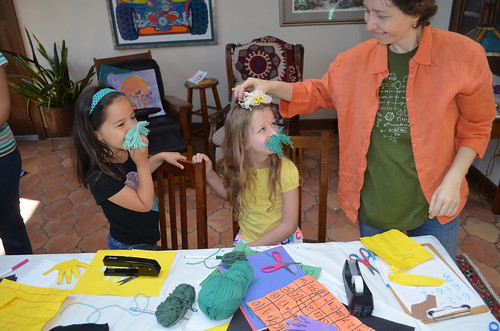
How charming, mustache ladies!

Evil Mustache Priyesh is threatening the Flying Spaghetti Monster.

Meanwhile, Eashan is still at it integrating/deriving in 2D.

Julienne is making a 3D bird’s nest. She is very much into nature and modeling natural objects. Children often go through periods where everything must be about a single topic: horses, Star Wars, the nature, and so on.
Check out Owen’s 3D mustache…


…And Jake’s 1D looong beard!

…And Charlie’s fancy, mostly flat beard and fluffy toupee.
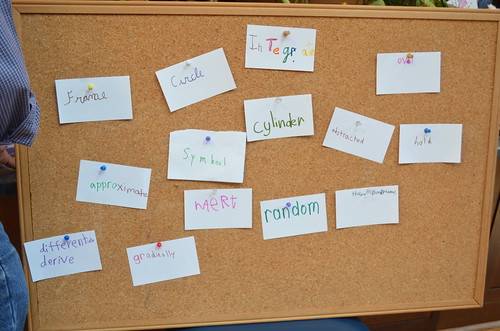
Our final collection of Math Words. Some are made in multiple colors because several children wanted to add the same word. Each child selected a color and wrote a part of that word. “Make math your own!”
Lastly, the group is gathered to watch the trailer of “Flatland.”
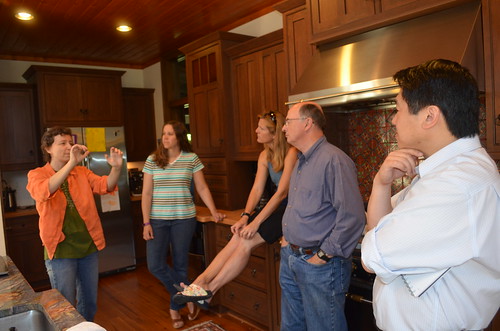
After the video, the grown-ups stayed around for some math talk, while children played outside.
Photos by Erin Song, captions by Erin Song and Maria Droujkova, Math Spark by Kalid Azad, Shelley Nash, and Maria Droujkova, edited by Ray Droujkov.
Posted in Make
Learn & Do Science with Your Children: Newsletter May 19, 2015
Subscribe and read archives
Pinterest | Twitter | YouTube | Facebook | Google+
In this newsletter:
- Become a citizen scientist and do real research with your children.
- That feeling when you first hold a new book!
Learn and Do Research With Your Children
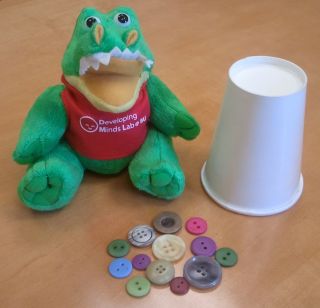
The Boston University Developing Minds Lab and NaturalMath would like to invite you to become a Citizen Scientist at home!

The goal of this project is to bring parents, educators, children, and scientists together to study how children develop math concepts and skills. We are exploring children’s early understanding of algebra before they have significant formal mathematics training in school. We need parents and guardians at home to help us study children’s math intuitions.

When you become a Citizen Scientist, you will do live research in your own home with your children, collecting valuable observations about your children’s responses and their reasoning behind their responses. The studies consist of fun, interactive games that you will play with your child.
Using our online guide, you will read about the background of the study and the study goals, then you’ll watch a few short videos that show you how to do the study. Finally, you’ll do fun experiments with your children and collect live data that we can use to further our understanding of children’s early mathematical reasoning. Preparing for the experiments takes just about an hour, and the studies take just about 30 minutes to complete with your child. Parents or guardians of children ages 4-9 can participate.
Citizen Scientists who have already participated found it educational, fun, and exciting. And kids really enjoy it! As a thank-you for participating, Citizen Scientists receive a booklet with more fun math activities to do at home.
Learn more and register at http://www.naturalmath.com/citizen-science-station/
P.S. Big thank you to our study’s beta testers. Everything from the reminder system to the training videos is now improved thanks to your feedback.
The Joy of Playing with Math
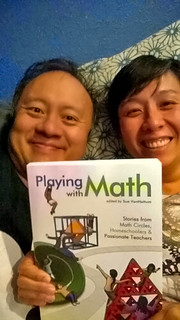
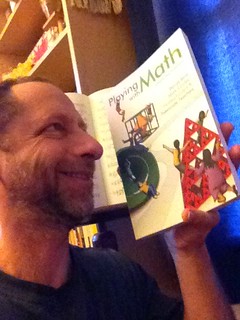
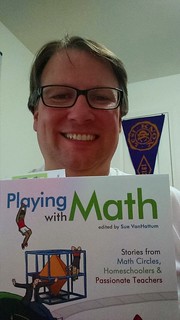
Sue VanHattum, the editor of Playing with Math, writes on her blog:
My book, Playing with Math: Stories from Math Circles, Homeschoolers, and Passionate Teachers, is delighting readers across the U.S. (and hopefully around the world). Here are a few photos of happy readers. Send me a photo of you with the book, and I’ll add it to my collection.
Meanwhile, a book crowdfunder who lives across the ocean from Sue writes at the Living Math forum:
Just wanted to give a shout out to Sue and team publicly on the forum for excellent work on the book, my husband and I really love it – even though we’ve only scratched the surface. And also for the great communication and promptness in delivering the book. We live in India and we received the book soon after we responded with our address. We were quite impressed!
Warmly,
from a really warm tropical part of southern India :)
Padmashree
See you online!
Dr. Maria Droujkova and the Natural Math crew
![]()
Posted in Newsletter


