Learn & Do Science with Your Children: Newsletter May 19, 2015
Subscribe and read archives
Pinterest | Twitter | YouTube | Facebook | Google+
In this newsletter:
- Become a citizen scientist and do real research with your children.
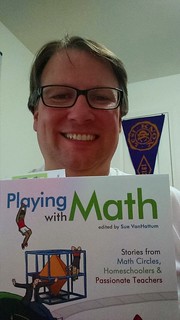
- That feeling when you first hold a new book!
Learn and Do Research With Your Children
The Boston University Developing Minds Lab and NaturalMath would like to invite you to become a Citizen Scientist at home!

The goal of this project is to bring parents, educators, children, and scientists together to study how children develop math concepts and skills. We are exploring children’s early understanding of algebra before they have significant formal mathematics training in school. We need parents and guardians at home to help us study children’s math intuitions.

When you become a Citizen Scientist, you will do live research in your own home with your children, collecting valuable observations about your children’s responses and their reasoning behind their responses. The studies consist of fun, interactive games that you will play with your child.
Using our online guide, you will read about the background of the study and the study goals, then you’ll watch a few short videos that show you how to do the study. Finally, you’ll do fun experiments with your children and collect live data that we can use to further our understanding of children’s early mathematical reasoning. Preparing for the experiments takes just about an hour, and the studies take just about 30 minutes to complete with your child. Parents or guardians of children ages 4-9 can participate.
Citizen Scientists who have already participated found it educational, fun, and exciting. And kids really enjoy it! As a thank-you for participating, Citizen Scientists receive a booklet with more fun math activities to do at home.
Learn more and register at http://www.naturalmath.com/citizen-science-station/
P.S. Big thank you to our study’s beta testers. Everything from the reminder system to the training videos is now improved thanks to your feedback.
The Joy of Playing with Math
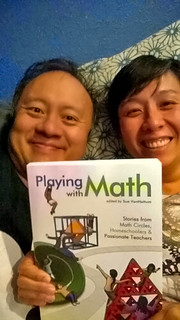
Sue VanHattum, the editor of Playing with Math, writes on her blog:
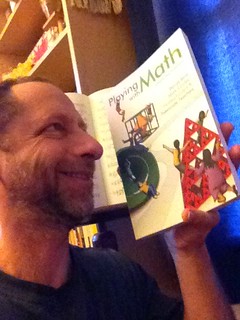
My book, Playing with Math: Stories from Math Circles, Homeschoolers, and Passionate Teachers, is delighting readers across the U.S. (and hopefully around the world). Here are a few photos of happy readers. Send me a photo of you with the book, and I’ll add it to my collection.
Meanwhile, a book crowdfunder who lives across the ocean from Sue writes at the Living Math forum:
Just wanted to give a shout out to Sue and team publicly on the forum for excellent work on the book, my husband and I really love it – even though we’ve only scratched the surface. And also for the great communication and promptness in delivering the book. We live in India and we received the book soon after we responded with our address. We were quite impressed!
Warmly,
from a really warm tropical part of southern India :)
Padmashree
See you online!
Dr. Maria Droujkova and the Natural Math crew
![]()
Posted in Newsletter
Calculus for Kids May 3, 2015 (Sundays)
This is a story about the third meeting of a Calculus for Kids math circle. During these meetings, we offer children and their parents prompts, but then follow their ideas to new places. This way, children help us design!
Maria has returned from her trip to the Navajo Nation, and brought this vase. It is decorated with symbolic patterns that remind us of one of our math words: Integration. Maria asked a question about what this symbol might mean, so Allison is examining the vase to search for her own meaning.
Sometimes children fall into a curious trap; they realize they can give universal answers to many different questions. This is an excellent math principle for children to discover and should be celebrated. For example, on a scavenger hunt for hidden math, children say any object whatsoever has “a pattern” in it. Celebrate by confirming patterns are everywhere and that it’s clever to notice that. If you are looking at shapes in figures of revolution (our previous meeting), instead of seeking cylinders, castles, or flowers, children can say, “Alien spaceship” and it will probably apply to any shape. Again, celebrate children’s ingenuity by saying that alien spaceships come in all sorts of shapes – it’s just like mathematicians saying, “Shape” to mean a large category of objects.
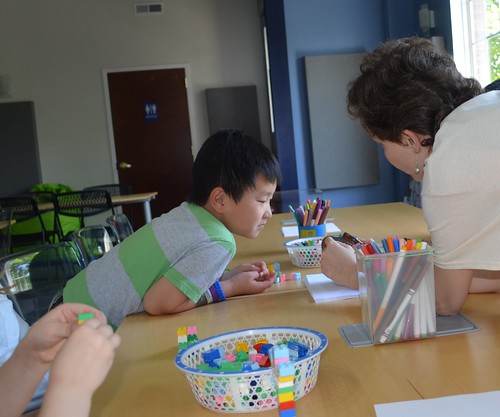
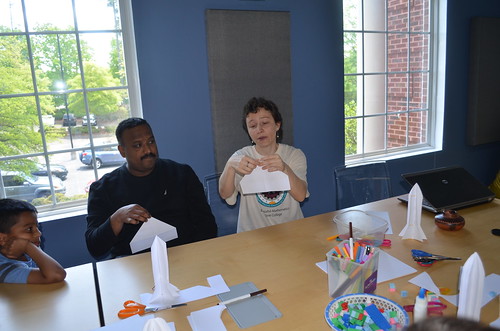
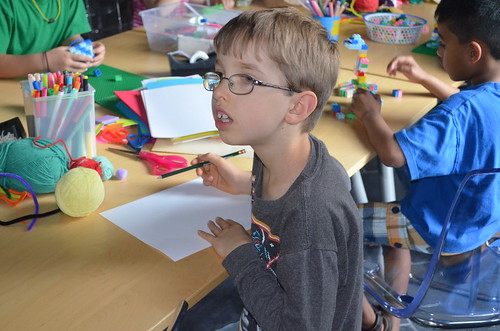
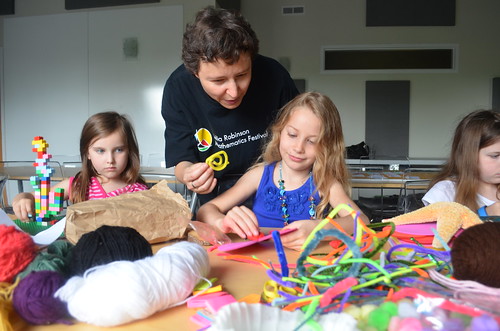
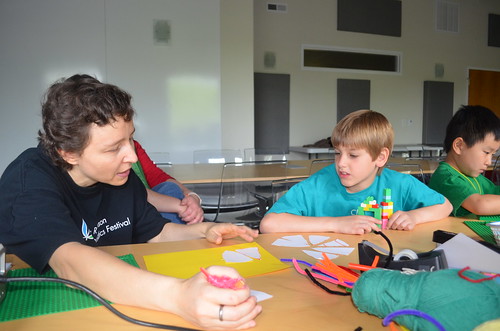
When children overdo this, the activity becomes boring and needs to be rescued. One way to pull children out is to ask for details. What sort of spaceship? What pattern do you see? Here, Maria is leaning forward asking to hear and see Eli’s interpretation of the symbolic pattern circumventing the vase.
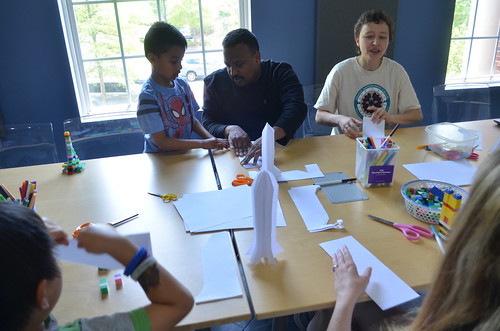
Let’s integrate a 3D paper spaceship out of 2D parts. Maria drew an outline of a simple rocket ship to show what we are about to create.

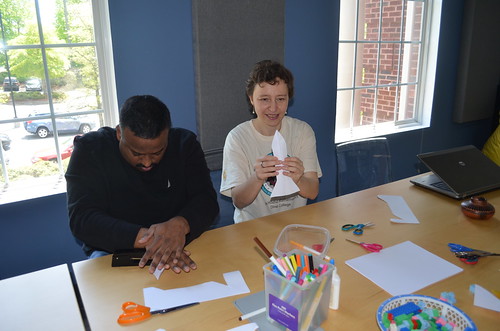
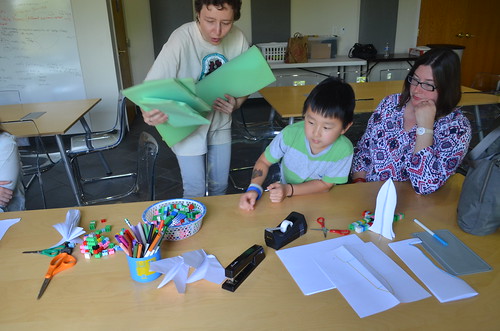
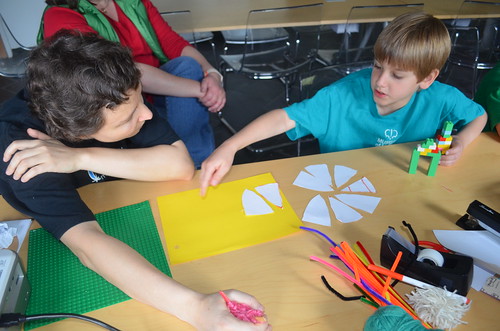
First, take four sheets of paper, fold them in half, and draw only a half of a rocket with the center line along the fold line. This is a nicely challenging task. Why do you draw a half? What happens if you draw the whole ship? What if you draw along the other side, not the fold line? Allison is holding the paper down so Sydney can draw easier.
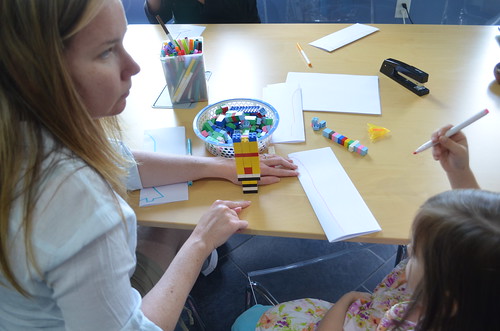
Maria’s showing her rocket drawing as an example.

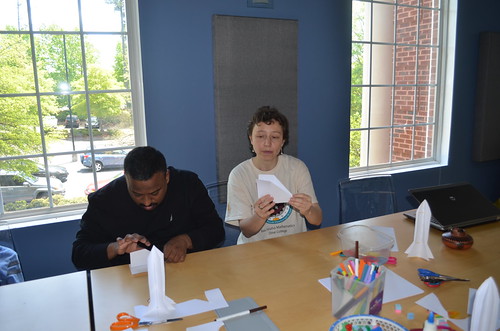
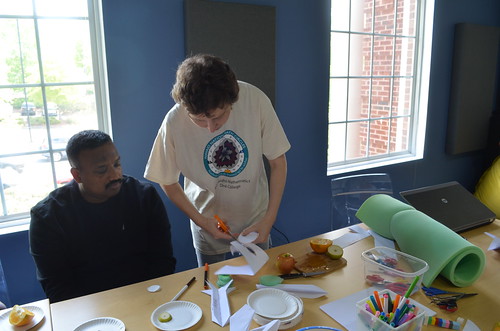
Then, cut along the outline of the rocket, as Eli is doing.

Maria is holding and turning the paper so Sydney can maneuver the scissors better. These types of assists help children do more with physical objects. Why do we care? Why not just cut for the younger child? Because the connection between the hand and the brain is two-way. By handling paper, children directly teach their brain about shapes and their mathematical properties. In this case, about the slope.

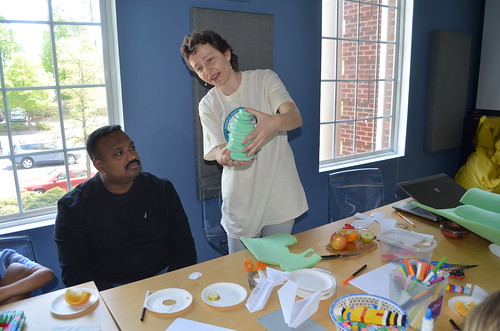
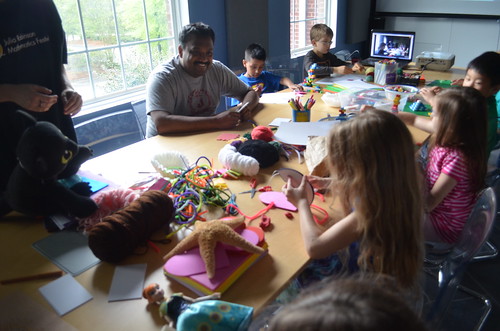
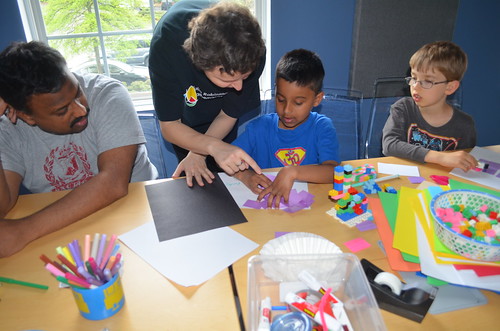
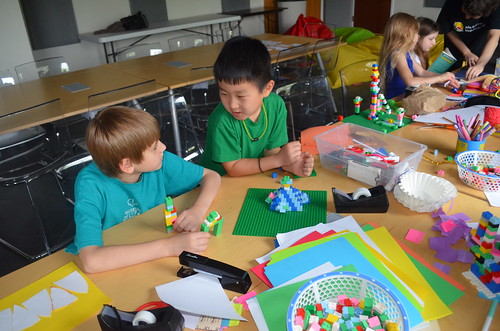
Next, open up the rockets and staple along the fold line. Krishnan is stapling the rocket they are making with Yash.
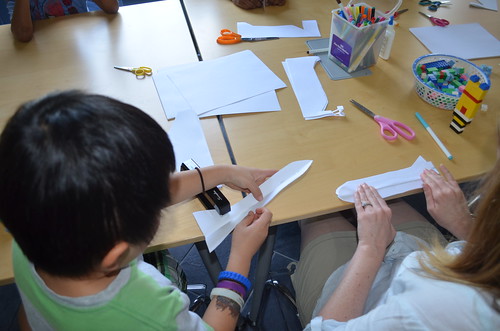
Once it’s securely stapled, spread the layers of paper around. This models disk integration for bodies of revolution.
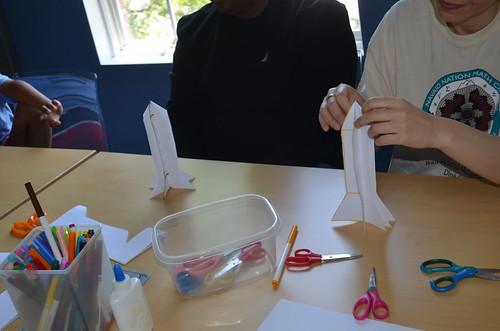

Image from Wikipedia.

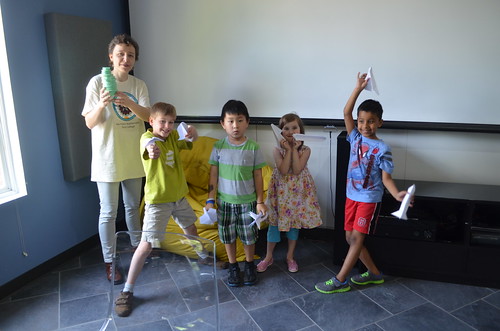
Spaceships look realistic enough for the shape, but do they really fly, children ask? They try, and it turns out that no, these models are just for looks.

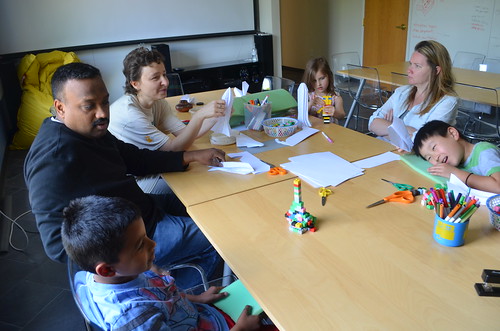
So the group is back to the table, where Maria is about to teach them how to make a 3D paper airplanes that really fly. This is an example of how children help to redesign activities, if we only follow their actions. We did not plan to research which models fly well (and why). But, it’s a rich question that made our activities livelier.
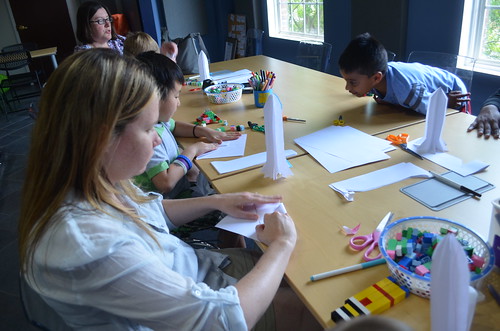
Maria talked through every step. A lot of asides about math terms come up when you do. Here the steps are all in one place, because it’s easier to understand this way if you are reading rather than playing along with someone:
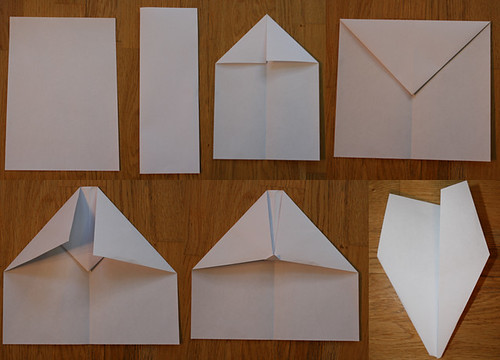
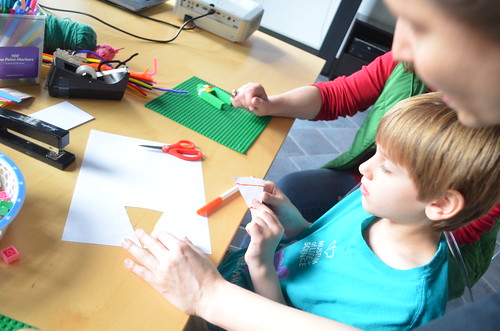
First, fold a sheet of paper in half vertically.
Then fold the top right and left halves along the middle line, forming a triangle.
Observe how children think and do things differently. One triangle is facing upward and the other downward. Which is correct? Even with simple technical tasks, there are many right ways of doing them.
Next, fold the whole triangle down – or up, if you are holding your paper the other way!
By the way, children tested their planes after each and every step! Eli tried it first as a joke when we first folded the paper in two. Maria kept up the joke and said that this “airplane” does not even fall well. Everybody wanted to try, and then they kept trying with all the intermediate steps.
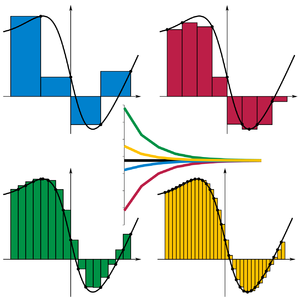
Some modeling techniques create models that get progressively better with each step. Riemann sums (above, from Wikipedia) are this way: the smaller the intervals, the better your approximation, but at each step, the approximation does work. Other modeling techniques are not progressive, and you have to wait till the very end to see any result at all. Children were experiencing that second kind of modeling with paper airplanes. They had a lot of fun with the unfinished models flying so badly that they didn’t even fall well.
Progressive techniques are used in many fields. For example, web design and image coding.
Now, fold in a stabilizer: a tiny triangular tip of the larger triangle. This way, the plane won’t wobble, but have a nice balanced flight.
Again, fold it in half symmetrically: here come the wings!
Maria is helping to fold. The next step is tricky.

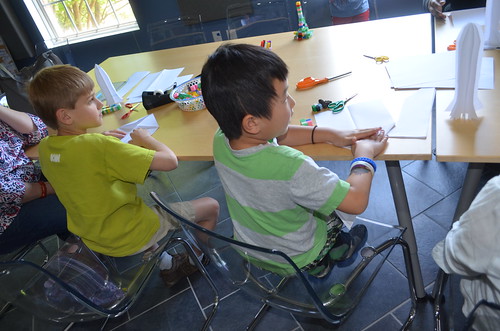
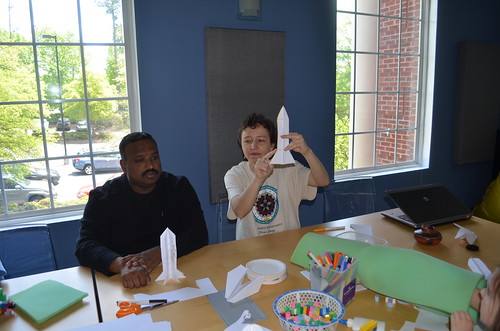
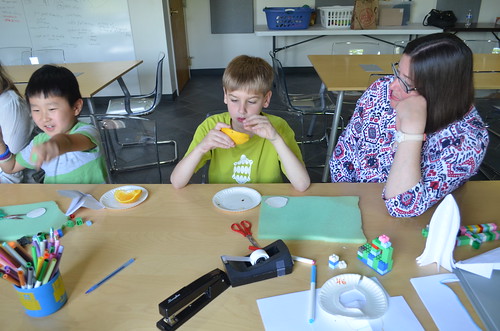
Yash is about to test-fly his handmade 3D paper airplane. Sydney is still working on decorations for her spaceship. Sometimes children stay with a project longer, but they still observe others – especially their parents – doing the next one.

Maria and Sydney are flying Maria’s paper airplane back and forth and Yash keeps testing his with Krishnan.
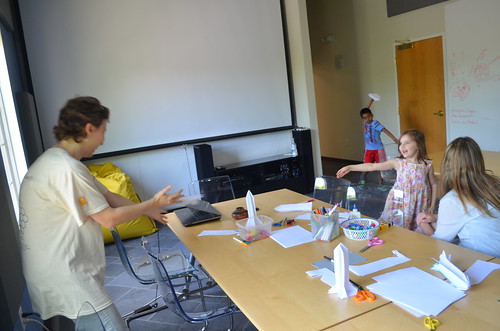
A trick to make the planes fly better: straighten the wings really nicely.

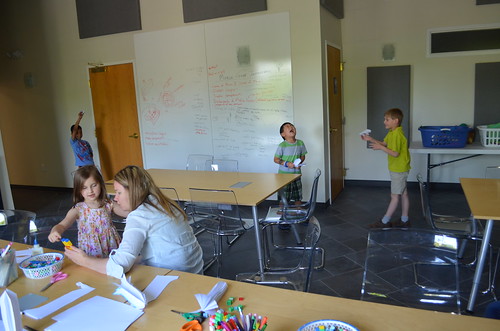
Sydney is ready to test-fly 2 airplanes at the same time, while Maria is watching the circle flying their planes from a cozy cushion.

Sometimes things do not go the way we planned or designed – there was an airplane accident! Accidents happen even in math circles. Leaders need to be prepared to deal with sad or upset children.
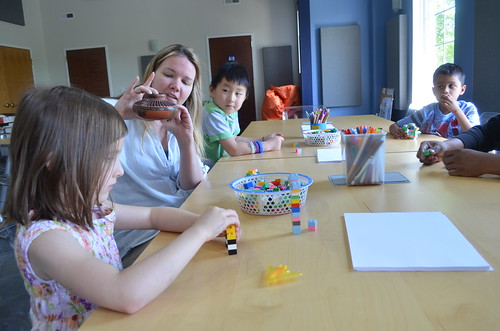
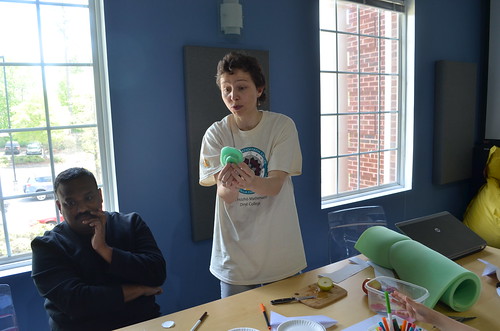
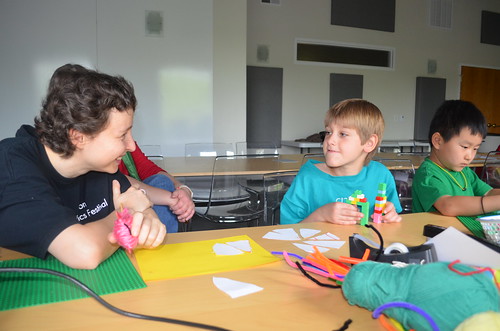
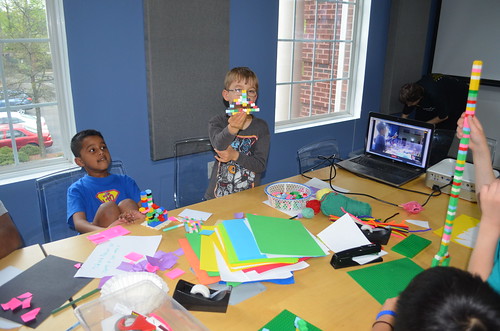
The circle is about to move onto the next calculus activity: making spaceships another way. Maria is handing out packaging foam to model layers.
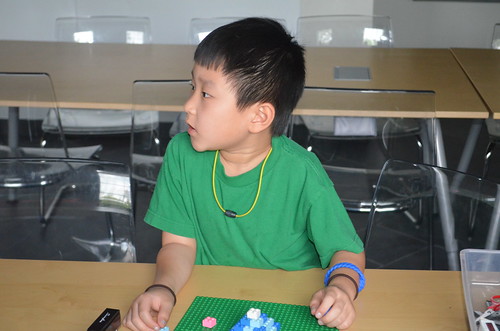
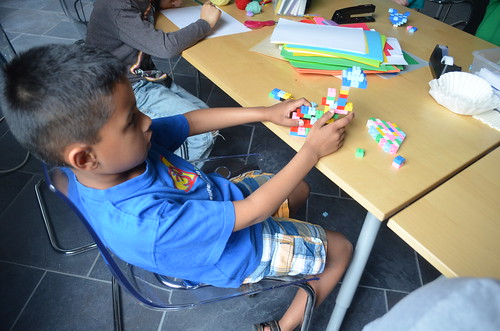
Ah, so soft. Sydney and Yash also assembled spaceships out of LEGO blocks.
Let’s look at the 3D paper rocket ship from the side, but integrate them from horizontal slices. From the side, the top looks like a triangle, the body like a rectangle, and the thrusters like a trapezoid.
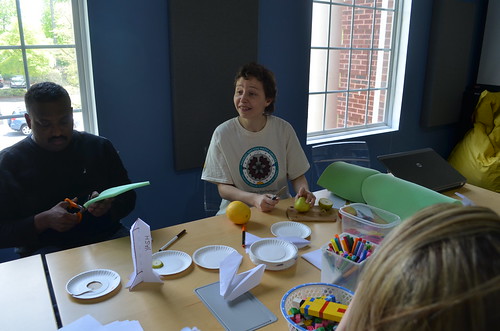
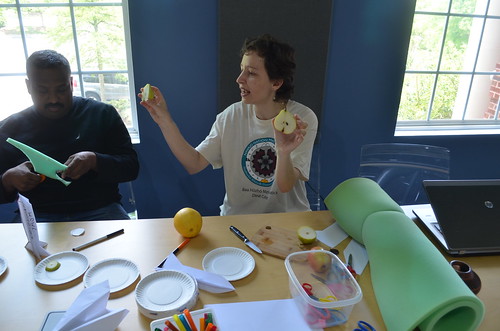
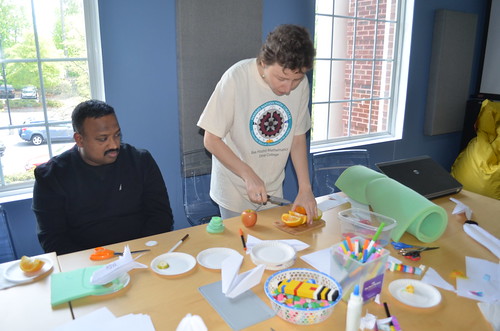
We did not want to slice our models to see how they would look across. But Maria had fruits there. She chopped a pear horizontally (like a Fruit Ninja) and asked, “What will you see when I show you the cut?” Some children answer questions about fruit slices in 3D (a cone, a cylinder), and some in 2D, from different points of view: the side (a triangle) and the top (a circle). This is a good example of how many right answers there are for one simple question!
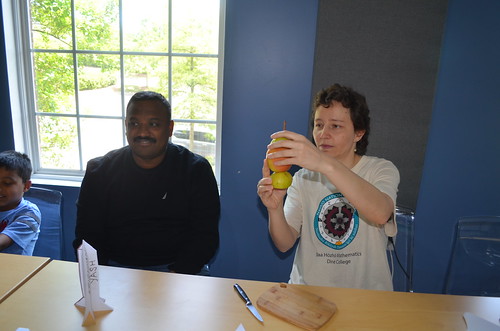
Maria sliced the pear horizontally, then numbered each of the four slices. Except nobody wanted numbers 2 and 3, but two people wanted number 4. We ended up creating our own number system: #1 – Sydney, #infinity – Yash, and #4A and #4B for the two boys who both liked 4.
We had a brief side discussion about naming numbers every which way – how about “cow” as a number name? Children concluded that these funky number names are more like variables than numbers.
Then children traced their fruit slices onto paper plates, cut them out, traced on the green foam, and cut out foam circles. Snacking on fruit all the way! Food makes people happy. Check out Maria’s face – yep, like a happy fruit ninja. Food makes for smoother, friendlier math circles.

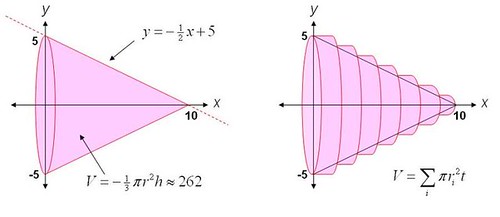
The nosecone is finally integrated out of the four circles.
And later, when participants made more circles, we could integrate the whole spaceship.
Why do we care? Simpler shapes (like disks) are easier to measure, so we can build more complex shapes (like cones) out of them and measure these more complex shapes too. For example, you can approximate the volumes of cones, spheres, and parabolic antennas by slicing them into disks.
Maria: If I cut this pear vertically what do I get?
Eli: A rocket ship!
Maria: What shapes would I get when I cut this orange?

What’s the math name of the orange quarter 3D solid?
Ninja chopping continues…
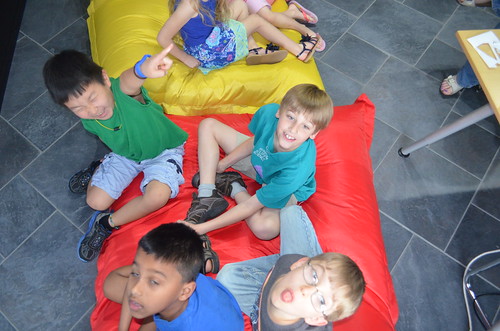
Group photo-op with our 3D rockets!

Photos by Erin Song, captions by Erin Song and Maria Droujkova, Math Spark by Kalid Azad, Shelley Nash, and Maria Droujkova, edited by Ray Droujkov.
Posted in Make
From buttons to the multiplication blind spots

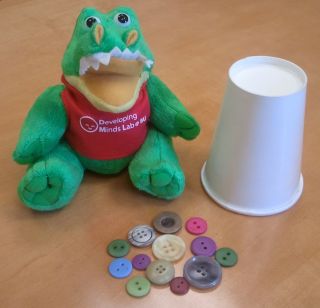
Buttons as a a tangible representation of a set
My kids love playing with our button collection. Who does not? Buttons are colorful, cute, interesting objects. They are also an incredibly useful mathematical manipulative – a tangible representation of a set. Today we have decided to arrange 1, 2, 3, … , 34, 35, 36 buttons into groups. The first task was to divide the 36 buttons among three siblings.

36 is 3 times 12
Without the use of the multiplication table, sharing buttons is a game in its own right: “One for me, one for you, one for our toddler sister.” “I hate pink buttons. Let’s trade.” Surprisingly enough, every single one of them ended up with the exactly the same amount of buttons. So we went on to the next challenge. Can you guess what it was just from looking at the picture?

A new arrangement
One day we will arrange the buttons in a square and add the connection to 6 x 6.
In the good old (hold on, I am undecided on ‘good’, but I am definitely not that old) days, I learned the multiplication table with drills. No visualization, just tons of practice. I can still calculate the answers to mathematical problems in my head, on a piece of paper, or even on a blackboard when I teach. I also love talking to people about education and math teaching, in general. Some believe that today’s kids will live in a world surrounded by technology, thus we should teach them to type, program, and use a calculator as soon as possible. Others are horrified by today’s youth lacking mathematical skills. The rest are busy changing the educational landscape.
Recently, I have noticed that recalling 7 x 8 = 56 takes me a good deal longer than say, 8 x 3 = 24.
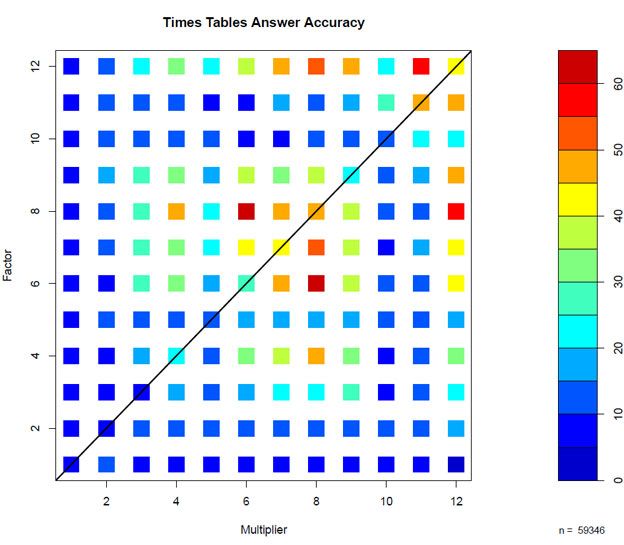
As a very curious person, I took a poll among my friends. Most of them have learned to multiply in a similar manner. :) To my great relief, I am not the only one suffering. Even though the location of the blind spots is individual. So far, I have just colored in the separate responses: 6×9, 7×8, and 8×7 seem to cause most trouble.

Multiplication blind spots
Can you recall all of the facts from the multiplication table equally well or do you suffer from a blind spot? If so, please share its location. I would love to create a more accurate map of multiplication table blind spots, but I need more respondents.
In the meanwhile, check out the Who, What, Why article Why does the sum 7×8 catch people out? about times tables answers accuracy.
Posted in Grow
Calculus for Kids April 19, 2015 (Sundays)
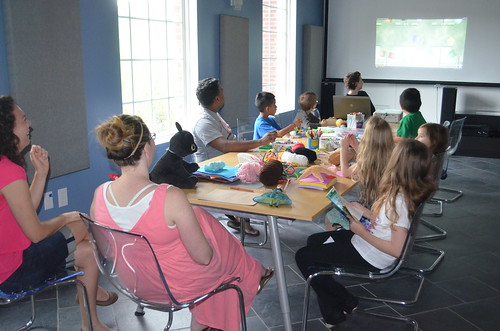
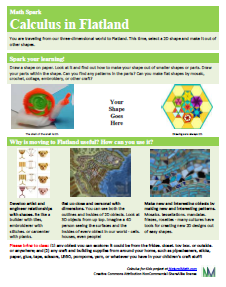
This is a story about the second meeting of a Calculus for Kids math circle. The math circle started off with the class attentively watching the trailer of Flatland. The movie itself is shown on a 2D screen, but it talks about journeys from 0 to 4 dimensions.
Download the Math Spark that invites you to travel to Flatland with us.
Today’s challenge is making 2D, flat shapes out of other shapes. Maddie and Sydney are discussing and examining how to transform Sydney’s green playdough shape into “what it is about to become” (they don’t know yet).
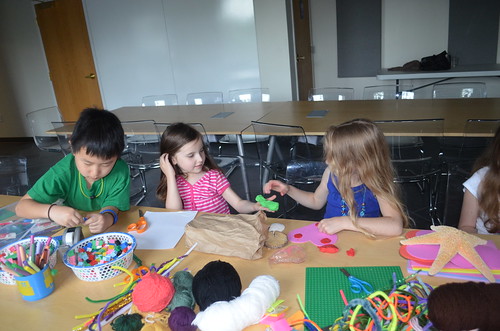
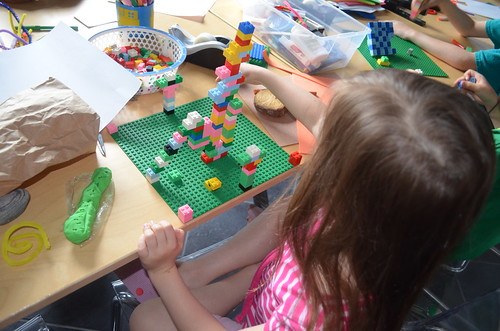
Sometimes, you just have to build something without even naming what it is. Yash built “something” imaginary out of LEGO blocks.
Maddie is making a 2D pair of glasses by coiling 1D pipe cleaners. She also created a 2D half-circle that transformed into a 3D sphere.

“Would you look at this!”

That flat object…
…Transforms into a sphere!

A triangle is not just a triangle, but a slice of pizza (as well as a 2D object).
If you make several such shapes, you can arrange them into a whole pizza. Note how the children are building while listening. Doing something with your hands often helps to listen, even if it looks like children’s undivided attention is on their own project.

How do you know they are listening? Try asking a question: “What kind of shape would the slices of pizza make in a row instead of a circle?”
Hmm … let’s see!
(Spoiler: it makes a rectangle.)
![]()
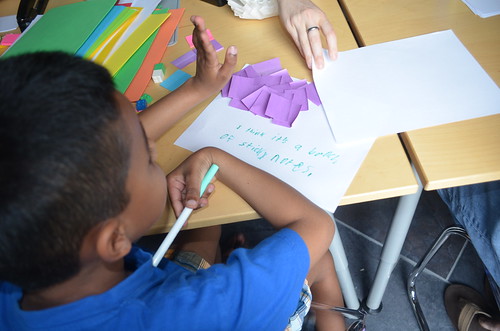
Yash meanwhile finished creating another “something” – many sticky notes reminded grown-ups of the field of math called Chaos Theory. Maria asked him to write out his thoughts on the paper. In return he wrote: “I think it’s a bunch of sticky notes.”
Mark made a rectangle out of six smaller rectangle – order in contrast to chaos.
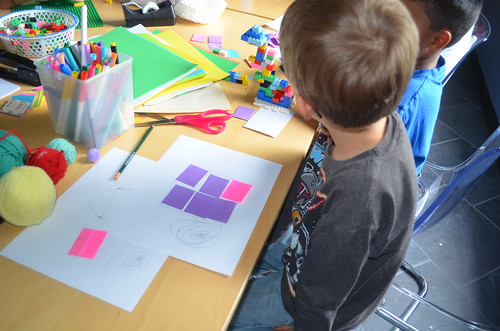
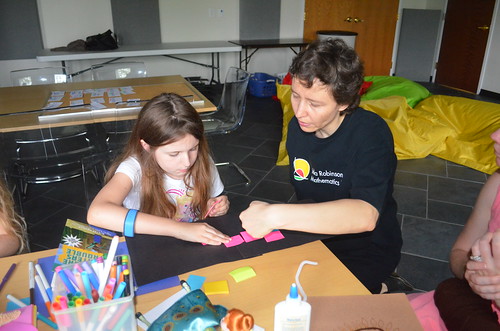
This rectangle, just like the chaotic 2D object Yash made, is abstract (not representing anything). The same technique can be used to model objects. On the other side of the table, Emma is discussing with Maria how to integrate a Minecraft sword out of sticky notes.
Hmm …
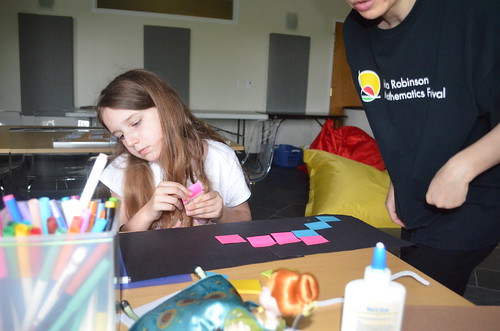

Nearly finished!
Mark is holding an imaginative 3D bow and arrow he made from LEGO blocks. It’s a flat shape that we can use as a 2D model.
Sydney is making an unknown shape. From blocks and imagination, she bravely creates something totally new. Older children and adults often lose that bravery and become hesitant to build things that don’t look like things. For Sydney, it’s the process of building that matters – and if the end product turns out interesting enough, like this tower, it’s good too, but not a requirement.
Eli just finished making a church. First, he integrated flat squares out of “dots” (LEGO blocks) and then he made the 3D building out of squares, one on top the other.
But instead, you can integrate “dots” into a 1D line – a really tall one, taller than you. But what if you got up on the chair?


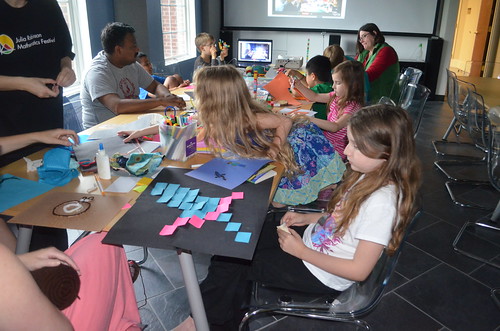
Allison is making a 2D pattern inspired by a doll’s dress. Sydney is getting up to go make her own version of a sword (not shown), using a different grid layout. When children make objects out of rectangles (like sticky notes), different types of grids come up a lot.

We are about to watch and play with the String Spin interactive, and pose for a picture! “Make very silly faces for the New York Times!”

Mark is experimenting, drawing on the pad to see what kind of shape his string will create.

Sydney is predicting what will come of drawings.
There is a temptation to say everything looks like “a weird shape” – children use a generic word, maybe “alien” or “spaceship” for everything, instead of specifying a cone, a cylinder, or a sphere. But they are not wrong, they are just expressing the fact there are similarities in all the different shapes the toy makes. It’s a mathematical value to see similarities over differences.

You can use the “Yes, and…” improv technique here: “Yes, all these shape look like spaceships. And that’s because they are all figures of revolution, so they all are similar to one another!”
Photos by Erin Song, captions by Erin Song and Maria Droujkova, Math Spark by Kalid Azad, Shelley Nash, and Maria Droujkova, edited by Ray Droujkov.
Posted in Make


